
Tuckpointing & Repointing · Chicagoland, IL
What Happens If You Wait Too Long to Tuckpoint? The Real Cost of Deferring Masonry Repair
Tuckpointing is the cheapest rung on the masonry repair ladder — and every year you defer it, the wall climbs to a more expensive rung. This guide walks through exactly what happens inside a brick wall when failed mortar joints are left open through Chicagoland winters, what each stage of damage costs to fix, and where the point of no return actually is.
2026-07-29
Quick Answer
Waiting too long to tuckpoint lets water into the brick wall through open mortar joints, and freeze-thaw cycling then escalates the damage from failed joints to spalled brick, rusted lintels, loose masonry, and eventually wall or chimney rebuilding — each stage costing several times the last. Emerald Masonry LLC repoints and restores masonry across Chicagoland. Family-owned, 40+ years, licensed and insured. Call (708) 288-1696.
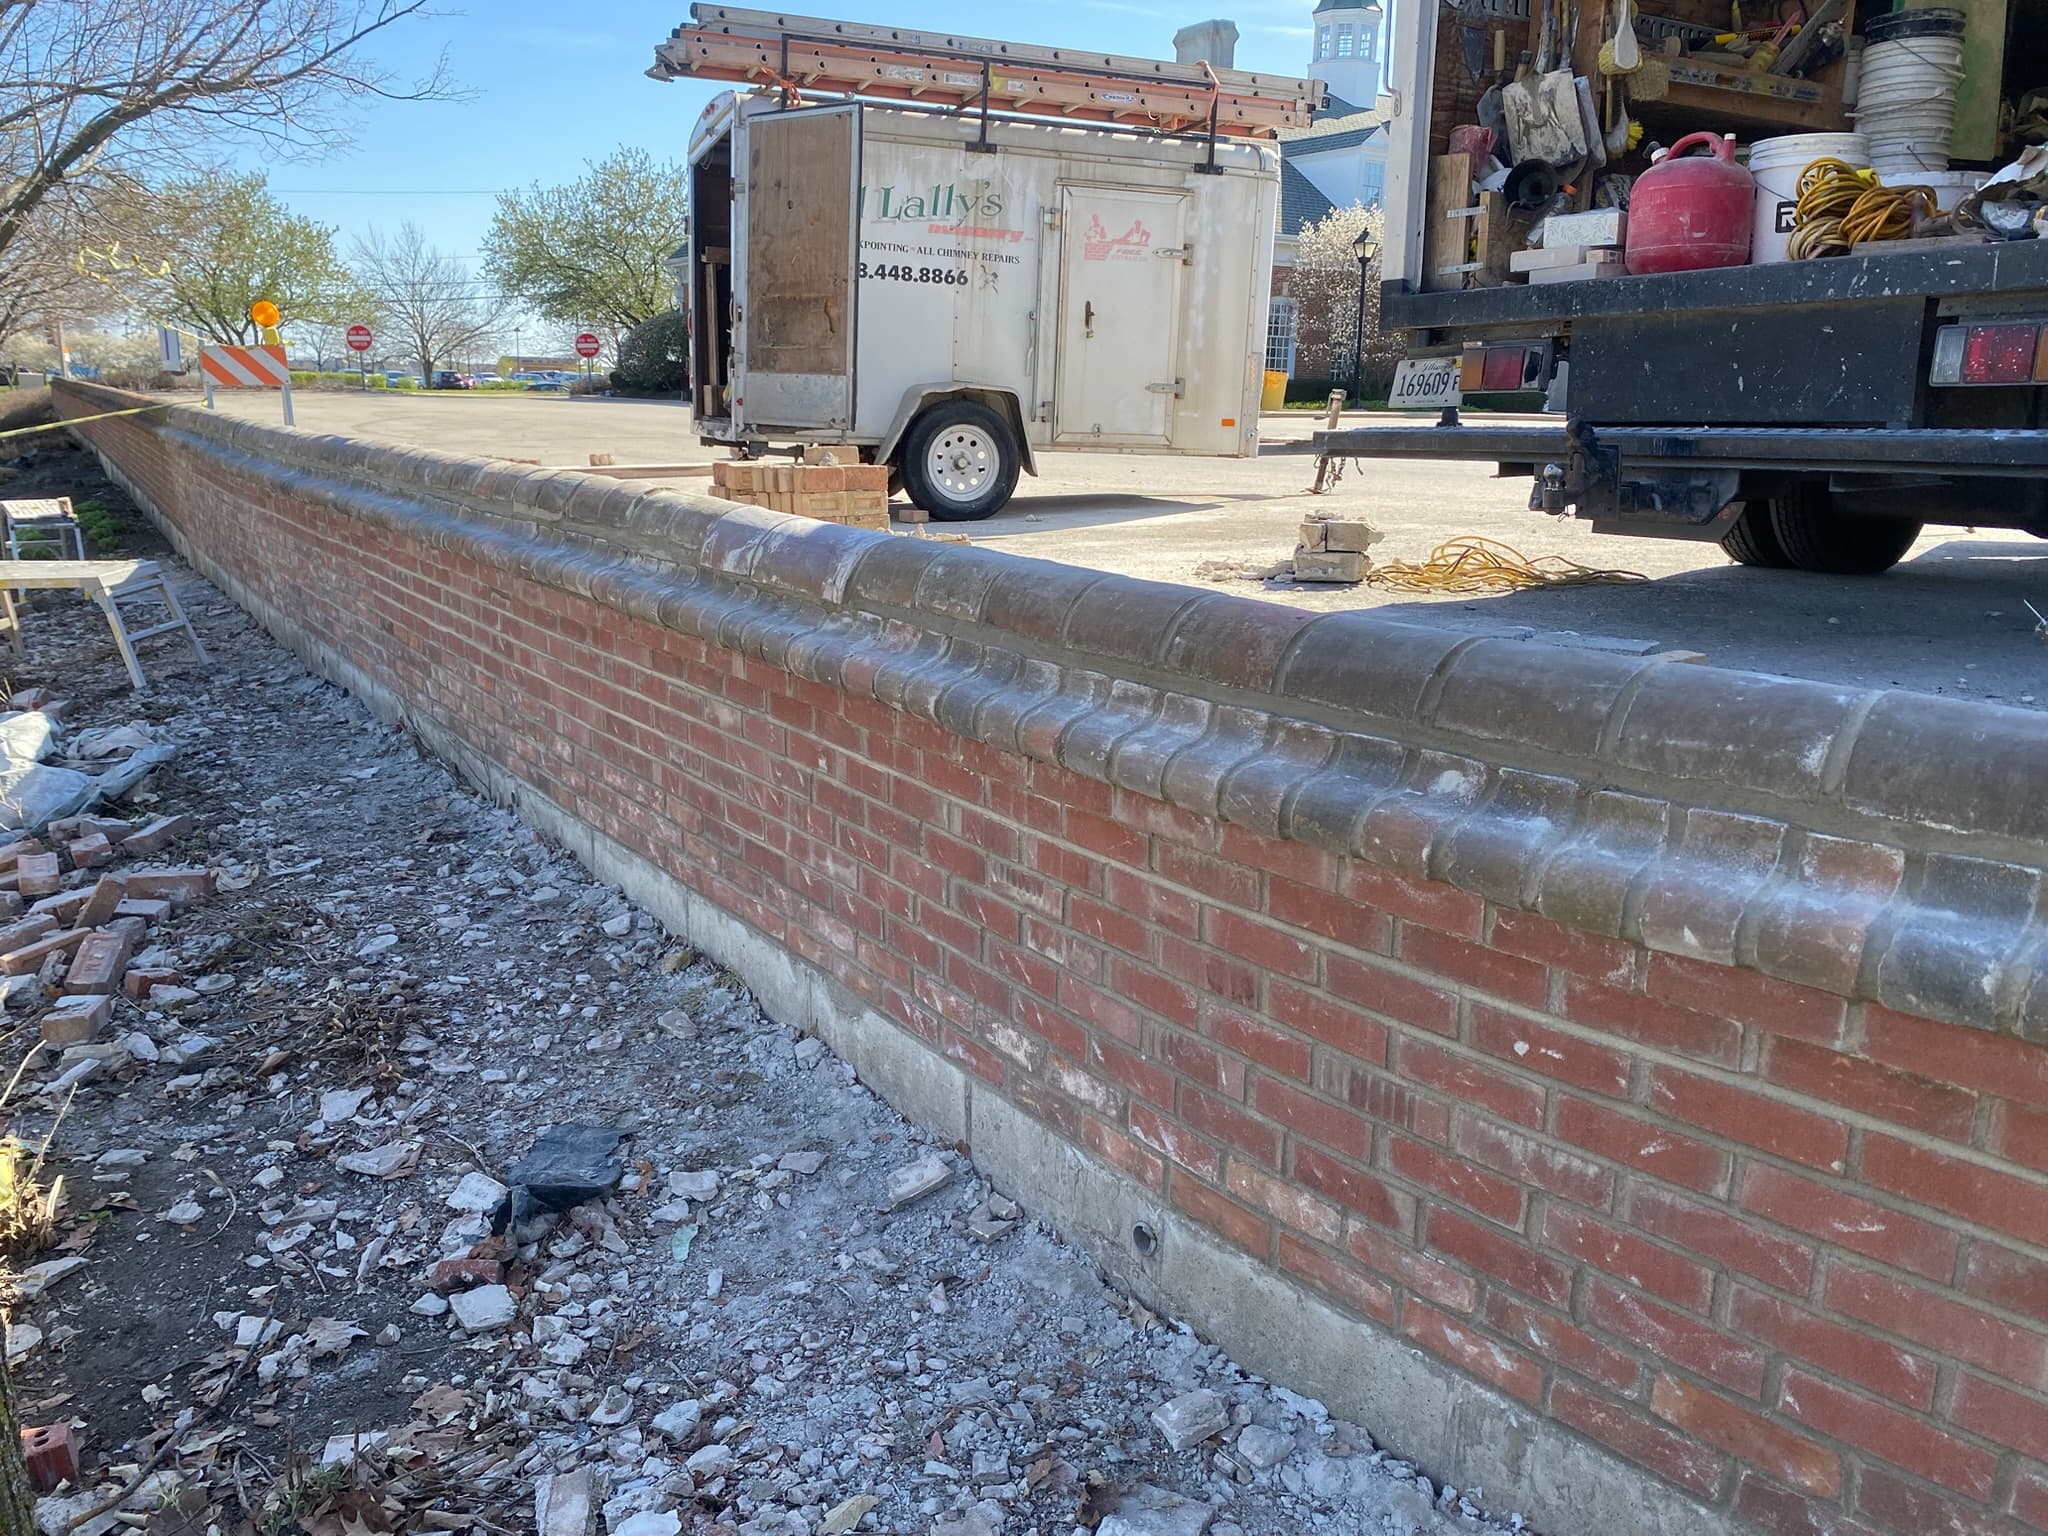
What Happens If You Wait Too Long to Tuckpoint?
If you wait too long to tuckpoint, water gets into your brick wall through the open mortar joints, freezes inside it, and escalates the damage in stages — from failed joints, to spalled brick faces, to rusting steel lintels, to loose and displaced masonry, to sections that have to be rebuilt outright. Each stage costs several times the one before it. Emerald Masonry LLC repoints and restores masonry across Chicago and the Chicagoland suburbs; family-owned, licensed and insured, with 40+ years of experience and free on-site estimates. Call (708) 288-1696.
Nearly every serious masonry repair we are called to in Chicagoland started as a tuckpointing job somebody put off. Not out of negligence, usually — mortar failure is quiet, gradual, and easy to look past for a decade. But the building science here is unforgiving, and the cost curve is not linear. It is a staircase, and every step up is dramatically more expensive than the one below it.
This guide walks that staircase, stage by stage, so you can locate your own wall on it.
First, Why Mortar Is Supposed to Fail
To understand why deferral is so costly, you have to understand what mortar joints are actually for.
A brick wall is not a monolith. It is thousands of individual units held in a matrix of mortar, and that matrix is engineered to be the sacrificial element. Mortar is intentionally softer and weaker than the brick around it. As the wall expands and contracts through temperature swings, takes on and releases moisture, and settles over decades, something has to absorb that movement. The design intent is that the mortar absorbs it and wears out — because replacing mortar is comparatively cheap, and replacing brick is not.
So deteriorating mortar joints are not a defect. They are the system working as designed. Repointing them on schedule is routine maintenance, in the same category as a roof.
The failure is not that the mortar wore out. The failure is leaving it worn out.
Stage 1: Open Joints — The Cheap Stage
What you see: Mortar that has receded behind the face of the brick. Joints that rake out under a screwdriver — the screwdriver test is still the fastest honest diagnostic there is. Sandy grit collecting on sills, steps and along the foundation. Hairline step cracks through the joints. Sometimes efflorescence, the chalky white bloom that means water is moving through the wall and depositing salts as it exits.
What is happening inside: Depth is what makes a mortar joint shed water. Once the joint has receded, the wall has lost its weather seal at thousands of points at once. Every rain now drives water into the wall assembly instead of off it.
The repair: Repointing — grinding or raking the failed mortar out to sound depth, typically two to two and a half times the joint width, then packing fresh matched mortar in layers and tooling it to the original profile. Sound brick, straightforward access, predictable cost.
This is the cheapest rung on the ladder, and it is where every homeowner wants to be when they call.
Stage 2: Saturation and Spalling Brick — The Turn
What you see: Brick faces flaking, shelling, popping or crumbling. Often it starts low on the wall where splash-back keeps masonry wet, or below a failed sill, or on the weather-beaten south and west elevations. Sometimes a single course under a leaking gutter goes first.
What is happening inside: With the joints open, brick is now saturating. Brick is porous — face brick less so, Chicago common brick far more so. When saturated brick freezes, the water inside expands roughly nine percent, and it has nowhere to go except outward through the face of the unit. In Chicagoland we run dozens of freeze-thaw cycles per winter. Each one fatigues the brick a little further, until the face delaminates and falls off.
What changed: The repair is no longer just about joints. Every spalled brick must now be cut out and replaced with a color- and texture-matched unit, which means sourcing matching brick, more labor per square foot, and a visible outcome that depends on how good the match is. Brick matching on a century-old wall is genuinely difficult; original units are often no longer manufactured.
This is the stage where the cost of waiting becomes real, because you are now paying to repoint and to replace masonry that was fine when the joints first opened.
Stage 3: Steel — The Hidden Expensive One
What you see: Orange or rust-colored staining running down the brick from above a window or door. A horizontal crack in the joint line directly above an opening. Brick above a window that appears lifted or displaced.
What is happening inside: Most brick openings in Chicagoland homes and commercial buildings are spanned by a steel lintel — an angle iron carrying the brick above the window. Steel is not affected by wet masonry until it is, and then it is affected catastrophically: as steel corrodes, it expands to several times the volume of the original metal. That expansion, occurring inside a rigid masonry wall, physically lifts the brick courses above the opening and cracks the joint line.
This is called rust jacking, and it is one of the most common consequences of long-deferred tuckpointing. The same mechanism attacks shelf angles, brick ties and any other embedded steel in the wall.
The repair: Lintel replacement — temporarily supporting the masonry above the opening, removing the brick course, cutting out and replacing the corroded steel, priming it, and rebuilding the brickwork. It is skilled, staged work on every affected opening.
A homeowner who repointed at Stage 1 almost never reaches Stage 3. The steel stayed dry.
Stage 4: Loose, Displaced and Bulging Masonry — The Safety Stage
What you see: Brick you can move by hand. Widening step cracks. A visible bulge or bow in the wall plane, most easily seen by sighting along the wall from a corner. Masonry debris on the ground or in gutters. On a chimney, a lean or a gap opening between the chimney and the house. Daylight visible through a chimney from the attic.
What is happening inside: The wall has lost cohesion. Either the mortar matrix has deteriorated through the full depth of the joint rather than just the face, or the ties connecting a veneer to the structure behind it have corroded away, or both. A bowing brick wall is no longer being held as an assembly.
The repair: No amount of tuckpointing fixes this. The wall or section must be rebuilt — taken down and relaid, often with salvaged brick where units are still sound, with new ties and proper detailing. On chimneys this is a rebuild above the roofline, or lower.
This is also where deferral stops being a financial question. Loose masonry over an entryway, a public sidewalk, a parking area or a neighboring property is a liability exposure, and for commercial buildings in Chicago it intersects directly with facade inspection requirements.
The Cost Staircase, Summarized
| Stage | Condition | Repair required | Relative cost | |---|---|---|---| | 1 | Receded, sandy, open joints; sound brick | Tuckpointing / repointing | Baseline | | 2 | Spalled and flaking brick faces | Repointing + brick replacement | Multiples of Stage 1 | | 3 | Rust staining, cracked joints over openings | Lintel replacement + rebuild of affected courses | Higher again, per opening | | 4 | Loose, displaced, bowing masonry; leaning chimney | Section rebuild or chimney rebuild | Highest — plus liability |
We do not publish square-foot pricing, because no two walls are in the same condition and anyone quoting masonry sight-unseen is guessing. But the shape of this staircase is consistent across every job we estimate: the wall that was repointed on time cost a fraction of the wall that was not.
How Chicagoland Accelerates Every Stage
This staircase exists everywhere. It runs faster here.
Freeze-thaw frequency. What destroys masonry is not extreme cold; it is repeated crossings of the freezing point with water present. Chicagoland delivers those crossings dozens of times each winter, and shoulder seasons deliver plenty more. Every crossing is a load cycle on saturated masonry.
Lake-effect moisture. Humidity and lake-driven precipitation keep walls wetter longer, especially north-facing elevations that get little sun and dry slowly. This is why north-facing brick deteriorates faster on the same building.
Road salt and deicers. Salt-laden splash at grade drives salt into masonry, where crystallization pressure does damage similar to freezing and contributes to efflorescence and surface loss on the lowest courses.
The age and type of the housing stock. Chicago's brick bungalows, two-flats, greystones and worker cottages were largely built between 1890 and 1940 with soft lime mortar and softer brick — including enormous quantities of porous Chicago common brick behind the face brick. That masonry is now at or past a century old. Post-war suburban brick from the 1950s and 60s, laid with harder Portland-based mortar, is hitting sixty to seventy years — also the end of a normal mortar service life.
In other words, a large share of the region's masonry is arriving at Stage 1 simultaneously.
Where the Point of No Return Actually Is
Homeowners frequently ask whether it is "too late." Useful answers:
- Failing joints, sound brick: Not too late at all. This is the ideal moment. Repointing restores the wall.
- Isolated spalled brick: Not too late. Repoint and replace the damaged units; the wall is fully recoverable.
- Widespread spalling across an elevation: Recoverable, but this is now a restoration project, not a maintenance item.
- Rust jacking at multiple openings: Recoverable, but lintel work is now unavoidable and should be prioritized.
- Bowing, bulging, loose brick, leaning chimney: Past the point where repointing means anything. This needs professional evaluation now, on safety grounds.
The genuine point of no return is not about the wall being unfixable — masonry is nearly always fixable. It is about the point where the original material is lost. Once a hundred-year-old brick face has spalled off, that brick is gone, and every replacement is a compromise against the original. On historic buildings, that is the real cost of waiting: not just money, but authenticity.
What Proper Repointing Involves (and Why Shortcuts Restart the Clock)
If you are going to do this once, it needs to be done correctly — a bad tuckpointing job puts you back at Stage 1 within a few years, sometimes worse off than before.
- Assessment of the whole wall system — joints, brick, sills, lintels, chimney, grade, gutters and downspouts. Water source first.
- Mortar matching — color, sand, texture and, most importantly, hardness. Type N and Type S are not interchangeable, and neither belongs on a soft pre-1920 wall that wants a lime-modified mix. Mortar harder than the brick drives stress into the brick and causes spalling. This is the single most common way a repair damages a house.
- Grinding or raking to sound depth — not skimming new mortar over old joints, which fails quickly and looks wrong.
- Cleaning the joints so new mortar bonds to clean masonry.
- Packing in lifts and compacting so there are no voids behind the face.
- Tooling to the original joint profile at the right firmness — concave, weathered, raked, whatever the wall was built with.
- Proper cure and protection, especially in cold or hot weather.
Skip step two or step three and the job will not last, regardless of how good it looks on day one. That is why how to spot a bad tuckpointing job is worth knowing before you hire.
Maintenance That Slows the Whole Staircase Down
- Inspect masonry annually, ideally in fall before winter, and after major storms.
- Manage water first. Gutters clear, downspouts extended away from the wall, grade sloping away, splash controlled. More masonry is destroyed by mismanaged water than by anything else.
- Fix sills, crowns and flashing promptly — small horizontal elements that fail early and soak everything below them.
- Spot-repoint early where a small area is going, rather than waiting for the whole elevation.
- Use only breathable sealers if you seal at all. Film-forming coatings and paint trap moisture inside masonry and cause the exact spalling they were meant to prevent.
- Never sandblast or high-pressure wash older brick; both strip the fired face and dramatically accelerate deterioration.
Related Services
If your wall is somewhere on this staircase, these are the repairs involved: tuckpointing and repointing, brick repair, brick replacement, lintel repair, chimney repair, parapet wall repair, and masonry sealing. For older and landmark buildings, historic masonry restoration applies different materials and methods.
The Bottom Line
Tuckpointing is the least expensive masonry repair there is, and it is the only one that prevents all the others. Every stage above it — spalled brick, rusted lintels, rebuilt sections, rebuilt chimneys — exists because water was allowed into a wall through joints that had already told somebody they were finished.
If your mortar is receding, sandy or cracked, you are standing on the cheapest rung of the ladder right now. That is genuinely good news, and it has an expiration date measured in winters.
Emerald Masonry LLC is a family-owned, licensed and insured masonry contractor serving Chicago and the Chicagoland suburbs with 40+ years of experience in tuckpointing, chimney repair, brick repair and replacement, lintel and parapet repair, foundation and limestone/sill repair, caulking, sealing, and commercial, residential and historic masonry restoration. We give honest assessments — including telling you when a wall can wait.
Free on-site estimates. Call (708) 288-1696 or request an estimate.
Frequently Asked Questions
What happens if you never tuckpoint a brick house?
Water enters through the open joints, freezes inside the wall, and progressively destroys it — first spalling the brick faces, then rusting embedded steel, then loosening and displacing brick until sections must be rebuilt. A wall that needed repointing at year 60 may need partial rebuilding by year 80. The masonry does not stabilize on its own; deterioration accelerates once water has a path in.
How long can you put off tuckpointing?
Once the joints have visibly receded behind the brick face or rake out under a screwdriver, you are already at the point where repointing is the correct repair, and each additional winter adds risk rather than time. There is no fixed grace period — a sheltered north wall might hold for years while a weather-beaten south elevation spalls in one bad season. The honest answer is that the cheapest day to repoint is the day the joints start failing.
Is spalling brick a sign I waited too long to tuckpoint?
Usually, yes. Spalling — brick faces flaking, popping or crumbling away — means water has been getting into the masonry long enough to freeze inside the brick itself. At that point repointing alone no longer restores the wall, because the damaged brick also has to be replaced. Spalling is the clearest signal that the wall has moved up the repair ladder.
How much more does it cost to fix a wall after the brick starts failing?
Substantially more, because the scope changes rather than just growing. Repointing addresses joints; once brick must be cut out and replaced, or steel lintels replaced, or a section rebuilt, you are paying for materials, matching, access and far more labor per square foot. Emerald Masonry gives free on-site estimates so you can see the difference in scope for your actual wall.
Can tuckpointing fix a wall that is already bowing or bulging?
No. Bowing or bulging means the wall has lost its structural integrity or its ties to the structure behind it, and repointing the surface joints will not restore that. Those walls need evaluation for rebuilding or structural remediation. Bulging is one of the conditions where waiting stops being a cost issue and becomes a safety issue.
Does deferred tuckpointing affect my home's value or a sale?
It commonly comes up in inspections, and visible mortar failure, spalled brick or a deteriorated chimney frequently turns into a negotiated credit or a repair demand. Buyers and their inspectors read failing masonry as a large unknown, which is expensive at the negotiating table. Addressing it before listing is nearly always cheaper than addressing it during a transaction.
Is it too late to tuckpoint an old Chicago bungalow with original mortar?
Almost never too late, and very often exactly the right time. Original mortar on a 1920s bungalow is a century old and well past its service life, but if the brick faces are still sound, repointing with a properly matched soft mortar restores the wall. The urgency comes from protecting the brick before it starts spalling.
Should I wait until spring to tuckpoint?
If the joints are open going into winter, waiting means another season of freeze-thaw water entry, so it is worth getting an assessment now rather than in April. Masonry repair can be performed in cold weather with proper protection and cure management, though scheduling and conditions matter. At minimum, an inspection before winter tells you whether you are looking at a maintenance item or an urgent one.
How do I know how far my wall has already gone?
Use the screwdriver test on the joints, then look at the brick faces and the openings. Sound brick with failing joints means repointing. Flaking or popping brick faces means brick replacement is now part of the job. Rust staining at lintels, loose brick, or any bulge means the wall needs professional evaluation before anything else is scoped.