
Brick Replacement · Chicagoland, IL
Why Your New Brick Looks Wrong — and Whether It Will Actually Blend In
Almost every brick repair looks obvious the week it's finished. Some of that is normal and disappears; some of it never will. Here's how to tell which kind you're looking at, what actually blends over time versus what doesn't, and the questions to ask before the mason leaves the site.
2026-08-08
Quick Answer
Fresh mortar always dries lighter than it cures and typically takes weeks to months to settle toward its final color, so a repair that looks pale at completion often improves. What does not improve is a genuine mismatch in brick size, texture or coursing, or a joint tooled to the wrong profile — those stay visible permanently. Emerald Masonry LLC matches brick and mortar across Chicagoland. Family-owned, career masons, licensed and insured. Call (708) 288-1696.
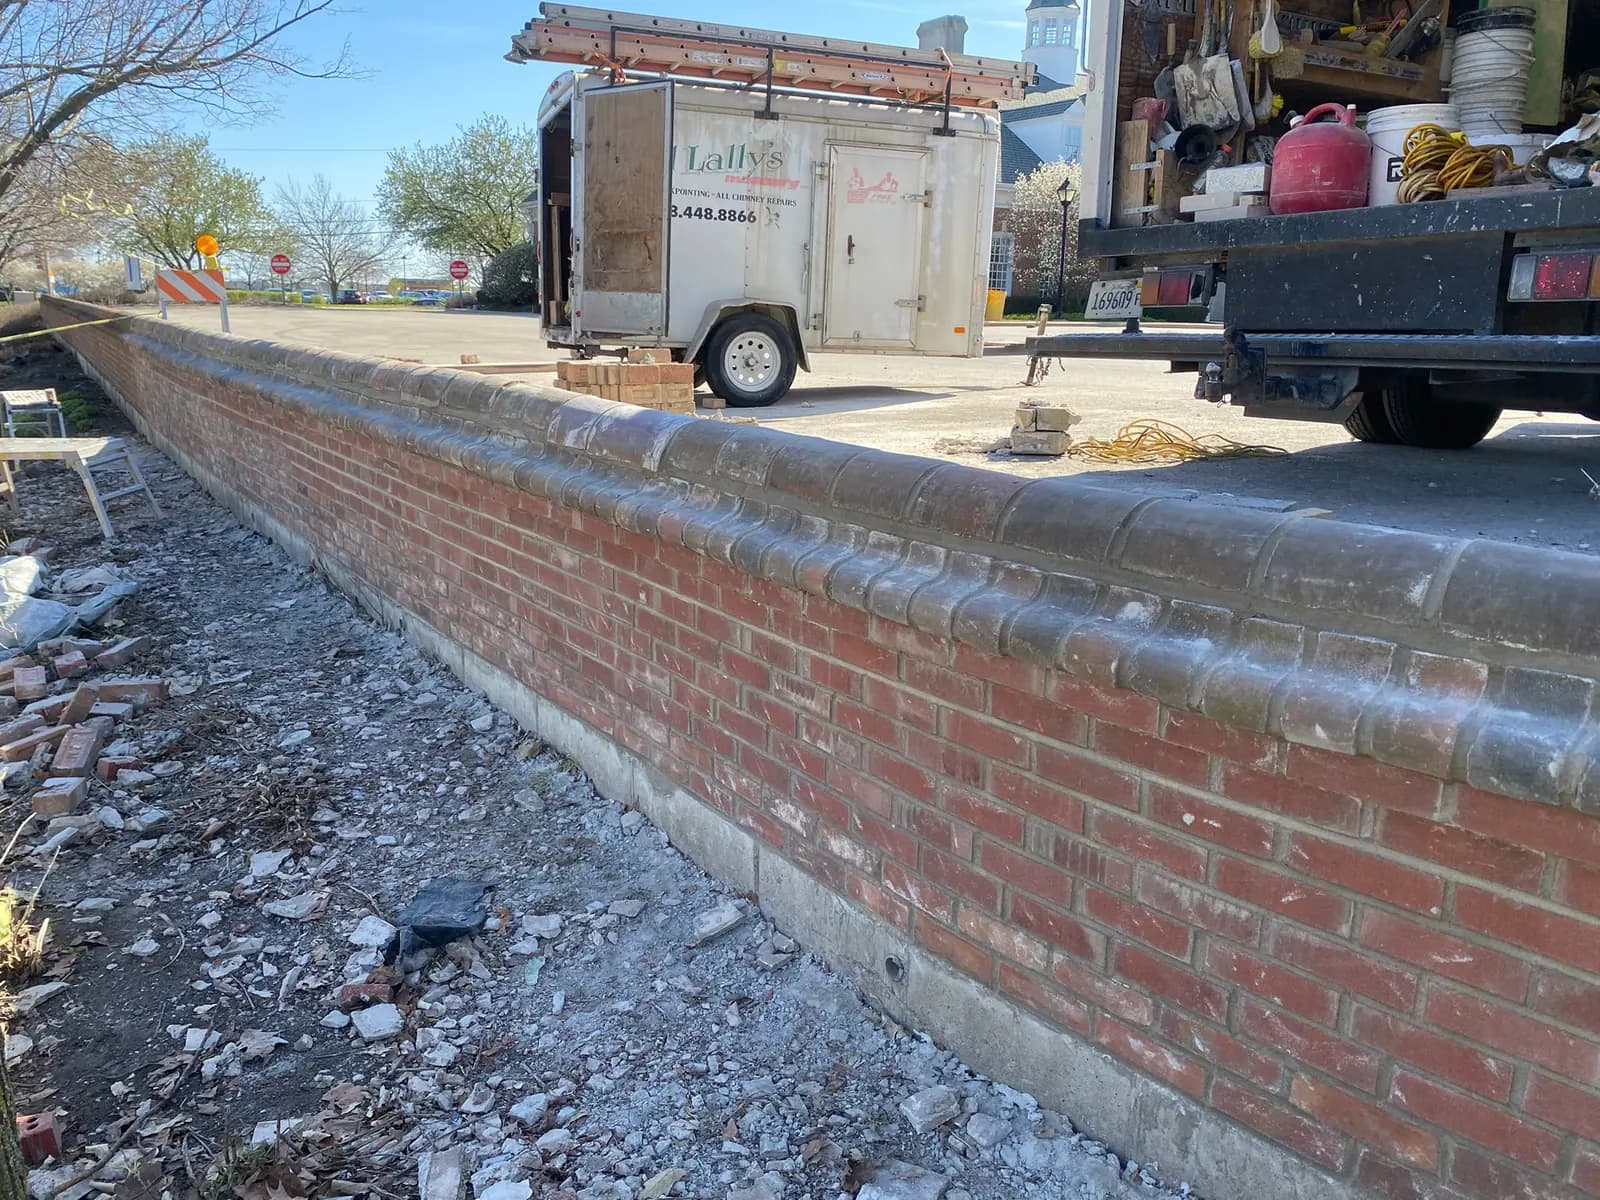
Why Your New Brick Looks Wrong Right Now
Fresh mortar always looks lighter than it will end up, and it keeps changing color for weeks to months as it cures and begins weathering — so a repair that looks pale the day the crew leaves often improves considerably. What does not improve with time is a genuine mismatch in brick size, texture or coursing, or a joint tooled to the wrong profile. Those stay visible permanently. Emerald Masonry LLC matches brick and mortar on every repair across Chicago and the Chicagoland suburbs — family-owned, licensed and insured, career masons with decades of experience, free on-site estimates. Call (708) 288-1696.
This is one of the most common calls we get after somebody else's job: the repair looks obvious, is it supposed to look like that?
Sometimes yes. Sometimes no. The useful thing is knowing which.
What Fades, and What Doesn't
| What you're seeing | Will it blend? | Why | |---|---|---| | Mortar looks pale / bright | Yes, substantially | Fresh mortar cures lighter than final color; it darkens over weeks to months | | White haze on new joints | Usually yes | Efflorescence from curing; typically diminishes and can be brushed off | | New brick looks "too clean" | Partially | Patina accumulates over years, but never fully catches up | | Slight color variation in new units | Yes, mostly | Reads as natural variation once weathered | | Mortar noticeably wrong hue (gray vs tan) | No | Wrong sand or wrong mix — this is permanent | | Wrong joint profile | No | Concave vs weathered vs raked reads differently in shadow, forever | | Joints wider or narrower than original | No | Geometry, not color | | Brick a different size | No | Throws the coursing; the eye finds it every time | | Wrong texture (smooth against tumbled) | No | Surface, not patina | | A clustered patch of off-tone units | No | Should have been distributed across the area |
Rule of thumb: color mostly heals. Geometry and texture never do.
Why Fresh Mortar Looks Wrong
Three separate things are happening.
Curing. Mortar sets within hours but keeps gaining strength and changing appearance for weeks. Wet mortar on a trowel is not the color the joint will be — which is exactly why a mason should judge a match against a cured sample rather than a fresh one. Lime-based mixes used on historic masonry cure more slowly still.
Missing patina. The wall beside your repair has decades of accumulated dirt, atmospheric deposition, biological film and general weathering. New material has none of it. That gap narrows over years but does not fully close, which is why an honest mason will tell you a repair on a hundred-year-old wall will always be findable if you know where to look — just not obvious.
Efflorescence. New mortar frequently blooms a white haze as curing water carries mineral salts to the surface. Common, usually temporary, and generally brushable. If it keeps returning after the first few months, that is a water signal worth investigating rather than a cosmetic issue.
What Actually Determines the Match
Four variables on the brick, and most crews only think about two.
- Size. Brick dimensions changed across eras and manufacturers. An off-size unit throws the coursing and the joint widths — the most visible mismatch there is, and unfixable without redoing the work.
- Color and texture. The obvious one.
- Absorption. How much water the unit takes on relative to its neighbors.
- Hardness. How it behaves under freeze-thaw beside the original units.
Get 1 and 2 right and 3 and 4 wrong and the repair looks fine on day one, then behaves differently through every wet-freeze cycle. On pre-1940 Chicagoland walls, salvaged brick from the same era usually matches better on all four — including the softness and absorption that determine how it ages.
And on the mortar side: most of a mortar's color comes from its sand, not its cement. Matching sand is the real work of matching color.
The Joint Profile Nobody Mentions
Here is the detail that quietly ruins otherwise good repairs.
Mortar joints are tooled to a profile — concave, weathered, raked, grapevine, struck, flush. That profile determines how the joint catches light and casts shadow across the whole wall.
A repair tooled to the wrong profile is visible even when the color matches perfectly, because the shadow line is different. Concave joints read as soft dark lines; raked joints read as deep shadow; flush joints read as almost nothing.
It costs nothing extra to tool correctly. It just requires somebody to look at the existing wall first.
Get a Test Patch
The single most effective thing a homeowner can do.
Ask for a small sample area, tooled to profile, and allowed to cure before the full job proceeds. Then look at it in daylight, at a few days and again at a couple of weeks.
This resolves the entire question before it becomes a disagreement, and any mason confident in their match will offer it without being asked. A color chart or a wet trowel is not a substitute.
When There Is No Exact Match
Common on 1990s and 2000s homes where colors had short production runs, and on pre-1940 walls where the brick simply is not made anymore — including Chicago common brick, which has not been produced in decades.
Three legitimate approaches:
Blend. Distribute two or three close units across the repair area. The eye reads variation as natural and a uniform near-miss as a patch.
Relocate original material. Take sound original brick from a hidden elevation — behind the garage, a rear wall, below grade — use it on the visible repair, and put the imperfect match where nobody looks. Standard restoration practice, and usually the best-looking result.
Accept it where it does not show. A rear or alley elevation does not need the match a front facade does.
Should You Clean the Old Wall Instead?
A question worth raising, because sometimes the mismatch is solvable from the other direction.
If the gap between new and old is mostly accumulated grime rather than genuine color difference, gently cleaning the surrounding wall narrows it — you are moving the old masonry toward the new rather than waiting years for the new to catch up. On a front elevation where the repair sits in the middle of a visible field, this can be the difference between a patch you notice and one you do not.
Two large cautions. First, cleaning has to be gentle: low pressure, soft brushing, masonry-safe cleaners chosen for the specific staining. Sandblasting and high-pressure washing strip the fired outer skin off brick, which permanently increases how much water it absorbs and accelerates spalling in a freeze-thaw climate. That trade — slightly better color match now, structurally compromised brick forever — is never worth making.
Second, cleaning changes the whole wall, not just the area around the repair. If you clean one elevation, expect it to read differently from the other three until they weather back together. On a house where all four sides are visible from the street, plan accordingly.
The practical middle path on most jobs: clean nothing, wait a season, and reassess. Fresh work moves a long way in the first few months, and homeowners who wait are usually satisfied without cleaning anything.
How a Careful Repair Is Sequenced
- Sample the existing brick and mortar — a unit from an inconspicuous spot, and a mortar sample for sand and hardness.
- Source candidates — current production, salvage, or a blend.
- Batch trial mortars and cure them before judging color.
- Set a test patch, tooled to the existing profile.
- Review it cured, in daylight, with the homeowner.
- Execute, distributing any variation across the area rather than clustering it.
- Tool to profile at the right firmness — too soon and it smears, too late and it will not strike cleanly.
- Clean down gently. Never acid-wash aggressively or pressure wash, which damages both new and old work.
Where the Repair Sits Changes How Much It Matters
Worth weighing before you spend money chasing a perfect match.
A repair in the middle of a large, uninterrupted front elevation at eye level is the hardest place to hide anything, and it is where matching effort pays off. A repair under a porch roof, behind shrubs, above the second floor, on a return wall, or on a rear or alley elevation is seen at an angle, at distance, or rarely — and a good-but-imperfect match there is genuinely fine.
This is why relocating original material makes such a difference: you are choosing which repair the street sees. Move the sound original brick to the front, put the near-miss where it is viewed from forty feet away at a glance, and the whole job reads better for no extra material cost.
The Chicagoland Wrinkle
Two local factors make matching harder here than in many markets.
The housing stock is old and the brick is gone. Bungalows, two-flats, greystones and worker cottages from 1890–1940 used brick — including enormous quantities of soft Chicago common brick — that has no current-production equivalent. Salvage is the only real source.
Weathering is aggressive. Dozens of freeze-thaw crossings each winter, lake-effect moisture, road salt at grade and heavy atmospheric deposition in the city all mean Chicagoland walls develop a lot of patina, and there is simply more accumulated character for new material to catch up to.
What Drives Cost
- Match difficulty — a discontinued color or scarce salvage is the biggest variable.
- Number of units and whether damage is localized or spread.
- Custom mortar blending and test batching.
- Height and access for the repair area.
- Whether original material can be relocated from a hidden elevation.
- Underlying cause — a rusting lintel or failed sill that must be fixed first.
We assess in person and give a free written scope. We will also tell you honestly when a perfect match is not achievable and what the realistic options look like.
Questions to Ask Before the Crew Leaves
- What joint profile did you match, and how did you confirm it?
- What sand did you use, and did you check the color cured or wet?
- Is this brick current production, salvage, or a blend?
- How long before the mortar reaches its final color?
- Is the white haze efflorescence, and should I expect it to clear?
- If I am unhappy with the color in a month, what are my options?
Related Services
Brick replacement, brick repair, tuckpointing and repointing, historic masonry restoration, limestone and sill repair and masonry sealing.
The Bottom Line
Give a fresh repair a season before you judge it. Mortar darkens, haze clears, and new brick starts picking up the character of the wall around it.
But look now, while it is fixable, at the things that will not change: is the coursing right, is the joint profile right, are the units the right size and texture, and is any off-tone material distributed rather than clustered? Those are decisions, not aging — and they are the difference between a repair that disappears and one you notice every day.
Emerald Masonry LLC is a family-owned, licensed and insured masonry contractor serving Chicago and the Chicagoland suburbs led by career masons with decades of hands-on experience in tuckpointing, chimney repair, brick repair and replacement, lintel and parapet repair, foundation and limestone/sill repair, caulking, sealing, and commercial, residential and historic masonry restoration.
Free on-site estimates. Call (708) 288-1696 or request an estimate.
Frequently Asked Questions
Will my new mortar darken to match the old?
Usually it darkens somewhat as it cures and then weathers, and fresh mortar almost always looks lighter than it will end up. But it will rarely reach the exact tone of hundred-year-old mortar, which is why the mix should be matched to the cured color rather than to how it looks wet on the trowel.
How long before a brick repair blends in?
Mortar continues changing color for weeks to months as it cures and starts weathering, and brick picks up surface patina over years. Give a repair at least a full season before judging it. What will not change with time is a size, texture or coursing mismatch.
Why does my repair look lighter than the rest of the wall?
Two reasons, usually both. Fresh mortar dries and cures lighter than its final color, and the surrounding wall has decades of accumulated surface patina, dirt and weathering that new material simply does not have yet. The first resolves over time; the second narrows but never fully closes.
Can a mason match mortar color exactly?
They can get very close by matching the sand, which supplies most of a mortar's color, and by testing cured sample batches rather than judging wet mortar. Exact is rarely achievable against century-old mortar, but a good match plus the correct joint profile makes a repair genuinely hard to find.
What is the white haze on my new mortar?
Most likely efflorescence — mineral salts brought to the surface as the new mortar cures and dries. It is common on fresh work, usually diminishes over the first months, and can often be dry-brushed off. If it keeps returning, water is moving through the wall and that is worth investigating.
Should I ask for a test patch before the whole job?
Yes, and any good mason will offer one. A small sample area, allowed to cure, tells you far more than a color chart or a wet trowel. It is the single most effective thing a homeowner can do to avoid being unhappy with the finished appearance.
My repair is clearly visible — can it be fixed?
It depends what is wrong. Mortar color that is genuinely off can sometimes be corrected by raking and repointing the affected joints, and a wrong joint profile can be re-tooled if caught early enough. A brick size or coursing mismatch generally cannot be fixed without redoing the work.
Is it better to use salvaged brick or new?
On pre-1940 walls, salvaged brick from the same era usually matches better — not just in appearance but in absorption and hardness, which affects how it behaves beside its neighbors. On modern veneer, a current-production match is often available and entirely appropriate.
Why did my neighbor's repair blend better than mine?
Most often because their wall is newer, so there was less accumulated patina to match against, or because their brick is still in production. Older walls with discontinued brick are genuinely harder, which is where blending and relocating original material from a hidden elevation earn their keep.