
Tuckpointing · Chicagoland, IL
How to Tell If Your Mortar Is Failing: The Screwdriver Test and 6 Other Checks You Can Do Yourself
You don't need a contractor to tell you whether your mortar joints are shot. Press a flathead screwdriver into a joint — if it sinks in, digs a groove, or the mortar crumbles into sand, the joint has lost its binder and the wall needs tuckpointing. Here are the screwdriver test and six other ground-level checks any Chicagoland homeowner can run in twenty minutes.
2026-07-12
Quick Answer
To tell if mortar is failing, press a flathead screwdriver firmly into the joint. Sound mortar resists and the tip skates off; failing mortar sinks in, gouges, or crumbles into sand. If mortar is soft or missing to a depth of roughly 1/4 inch or more, the joint is no longer keeping water out and the wall needs tuckpointing. Emerald Masonry LLC repoints brick across Chicagoland — free on-site estimates, (708) 288-1696.
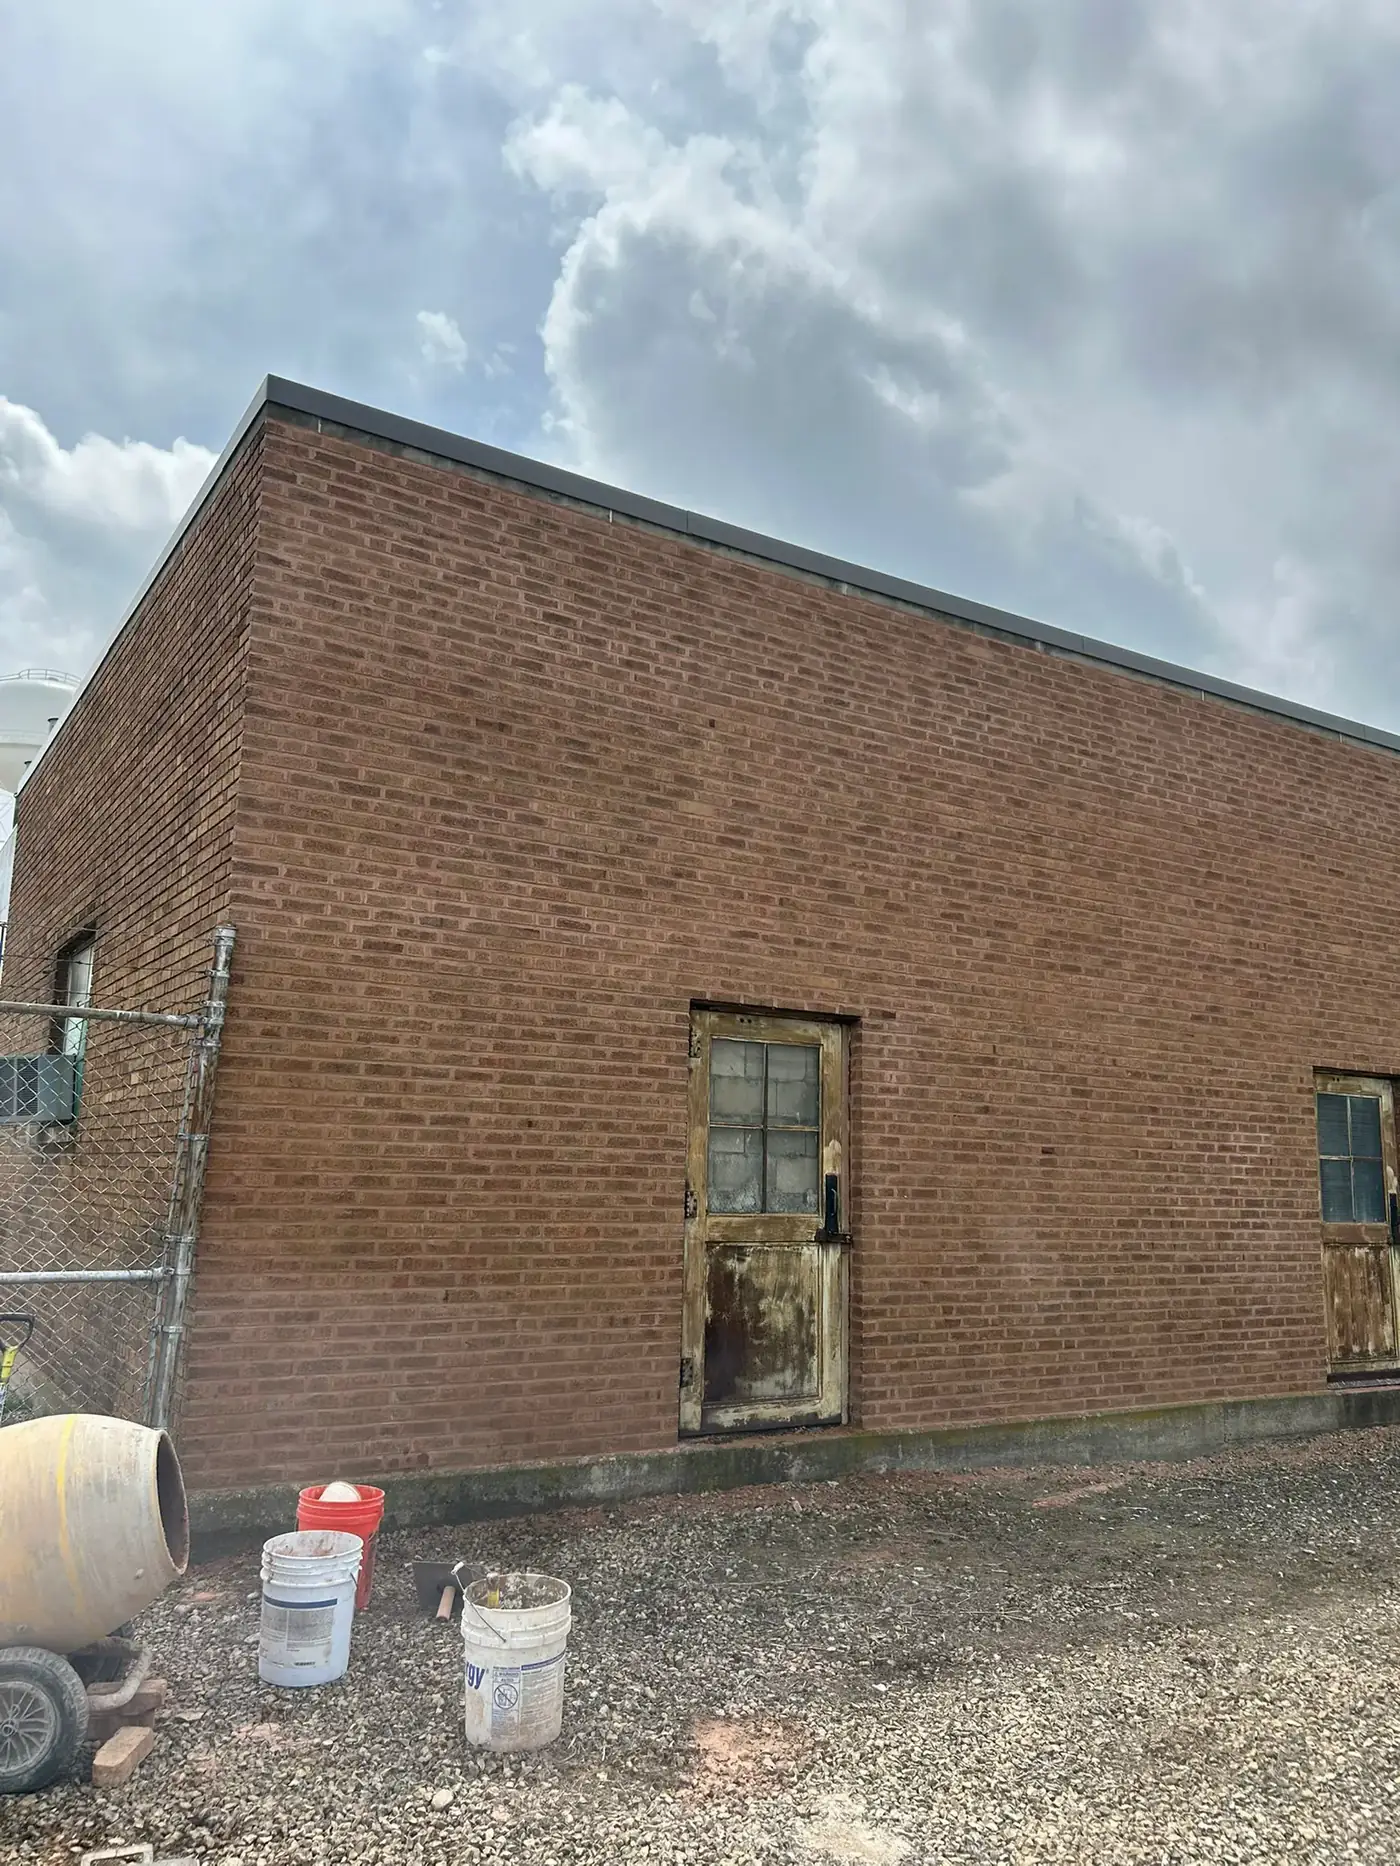
How to Tell If Your Mortar Is Failing: The Screwdriver Test and 6 Other Checks You Can Do Yourself
Here's the short answer. To tell if your mortar is failing, press the tip of an ordinary flathead screwdriver firmly into a mortar joint. Sound mortar fights back — the tip skates off and leaves nothing but a scratch. Failing mortar gives: the tip sinks in, gouges a groove, or the joint crumbles into sand and falls out at your feet. If you can dig mortar out to a depth of roughly a quarter-inch with hand pressure alone, that joint has lost its binder and your wall needs tuckpointing. Emerald Masonry LLC has been repointing brick across Chicago and the Chicagoland suburbs for career masons, and this is the first thing we do when we walk up to a house. You can do it yourself this afternoon — call (708) 288-1696 when you want a second opinion.
Everything below is a ground-level check. You should be able to run every one of these standing on your own grass, in sneakers, with nothing in your hand but a screwdriver. Nothing in this article requires a ladder, and nothing in this article should be attempted on a roof.
What Mortar Actually Is — and Why It's Supposed to Fail First
Most homeowners assume mortar failing is a defect. It isn't. It's the design working.
Mortar is a mix of sand and a binder — historically lime, in modern construction Portland cement, and usually some blend of the two. It fills the joints between masonry units, transfers load evenly from brick to brick, and — critically — keeps water out of the wall. And it is deliberately formulated to be softer than the brick around it.
That softness is the whole point. A brick wall moves. It expands in July, contracts in January, settles, shifts, and absorbs a century of freeze-thaw cycles. Something in that wall has to absorb the stress. If the mortar is softer than the brick, the mortar takes the damage — it cracks, wears, and erodes, and you repoint it. If the mortar is harder than the brick, the brick takes the damage instead — and brick faces spalling off are not something you can simply grind out and replace on a Tuesday.
This is the single most misunderstood idea in masonry, and it's why mortar is called a sacrificial material. Joints are meant to be maintained. Bricks are meant to last. When you tuckpoint a wall, you are replacing the part of the system that was engineered to be replaced.
It's also why matching mortar matters so much on older Chicagoland homes. Pre-1920 brick was fired softer, and it was laid in soft, lime-rich mortar. Repointing that wall with a hard, modern Portland-heavy mix creates a joint stronger than the brick beside it — and the wall starts destroying its own brick faces instead. We go deep on this in our guide to lime vs. Portland mortar, and it's the reason a real mason matches the existing mortar rather than defaulting to whatever's in the truck.
So mortar failing isn't the alarm. Mortar failing and not being replaced is the alarm.
The Screwdriver Test, Step by Step
This is the check. Everything else on this list is confirmation.
- Get a flathead screwdriver. A house key works in a pinch. You want a hard point, not a blade.
- Pick a joint at eye level or below — start on a north-facing or weather-beaten wall, because that's where failure shows up first.
- Press the tip into the mortar and drag it. Use firm hand pressure — the kind you'd use to open a paint can. Not a hammer. Not a chisel. Just your hand.
- Read what happens.
| What the screwdriver does | What it means | |---|---| | Skates off; leaves a faint scratch at most | Sound mortar. You'd need a grinder or a hammer and chisel to move this. Nothing to do. | | Leaves a visible mark; slight surface powder | Weathering. Normal aging. Monitor it; recheck in a year or two. | | Tip sinks in; you can carve a groove | Failing. The binder is going. Get an estimate. | | Mortar crumbles, pours out as sand, joint opens up | Failed. This joint is not keeping water out of your wall. Repoint it. |
- Now measure the depth. This is the part most people skip, and it's the part that actually decides the job. The rule of thumb: if mortar is missing, soft, or crumbling to a depth of roughly ¼ inch or more — or deeper than the joint is wide — it's tuckpointing time. At that depth, the joint has stopped functioning as a water barrier, and the rest of the wall is on borrowed time.
- Test in several places. Do a sunny south wall, a shaded north wall, near the ground, near a downspout, and around the chimney base. Mortar never fails evenly.
That last point is worth sitting with. Mortar fails where the water is. The north elevation, which never dries out. The wall under the downspout that's been clogged for six years. The chimney, which is exposed on four sides. The parapet, which is exposed on five. If you test one sunny wall, find hard mortar, and conclude the building is fine, you've tested the one wall that was always going to pass.
6 More Ground-Level Checks
The Rub Test (Or: Does Your Wall Come Off on Your Thumb?)
Run your thumb firmly along a mortar joint. If it powders, and you come away with sand on your skin, the binder is gone. This is the fastest version of the screwdriver test and it takes two seconds. A sound joint feels like stone. A failing joint feels like a sugar cube.
The Recess Check
Look at the joints edge-on. Sound mortar sits roughly flush with — or just slightly behind — the face of the brick, tooled into a clean profile. Failing mortar recedes. The joint hollows out and pulls back behind the brick face, creating a little shelf that catches and holds water.
Run a coin or your fingernail across the joint. If it drops into a noticeable setback, the joint is eroding. Once joints are recessed, every rainstorm has a ledge to sit on, and the erosion accelerates.
The Sand Pile Tell
This one you can spot without touching the building.
Look at the ground along the base of the wall, on the window sills, and on any ledge, sill, or projection. If you see small piles of sand and grit that keep coming back after you sweep them away, your joints are shedding — from somewhere above.
Homeowners walk past this for years assuming it blew in. It didn't. That sand was your mortar. It's the most under-noticed early warning sign in residential masonry, and it's free to check.
Crack Mapping
Not all cracks mean the same thing, and telling them apart is the difference between a maintenance call and a structural one.
- Hairline cracks in the mortar joints — common, usually cosmetic-to-moderate, often the first sign of joint fatigue.
- Step cracks — cracks that stair-step diagonally through the mortar joints, following the brick coursing. These follow the joints because the joints are the weak line. They point to movement: settlement, a footing problem, or a shifting lintel.
- Cracks running straight through the brick faces themselves — the serious one. When a crack is powerful enough to split brick instead of taking the easy path through mortar, something structural is loading that wall.
Photograph any crack you find, with a coin or a ruler in frame for scale, and note the date. If it widens over a season, you have movement, not just weathering. Our breakdown of hairline vs. structural cracks in brick walks through how to tell them apart.
The Efflorescence Check
Efflorescence is the chalky white bloom that shows up on brick faces. Most people think it's a stain. It's a diagnosis.
Those white crystals are salts that were dissolved inside your wall, carried to the surface by moving water, and left behind when the water evaporated. Efflorescence is not a cosmetic problem — it is physical proof that water is getting into your masonry and traveling through it. You cannot scrub your way out of it. If it keeps coming back after cleaning, the water source is still open, and open joints are the usual door. We cover the cycle in why efflorescence keeps coming back.
The Spalling Check
Spalling is when the face of a brick flakes, pops, blisters, or crumbles off, leaving a raw, pitted, often lighter-colored surface behind.
Here's the mechanism: water gets into the brick, the temperature drops below freezing, the water expands about 9% as it turns to ice, and it pushes the hard fired face right off the brick. Chicago runs through dozens of freeze-thaw cycles a season, so we see it constantly.
And here's the part that matters for this article: spalling brick almost always means the mortar failed first. The joints let the water in; the brick paid the price. If you're finding spalled brick, you're not early anymore — you're looking at the downstream consequence of a joint problem that's been running for years. See what causes brick to spall in Illinois for the full picture, and expect the conversation to include brick replacement as well as repointing.
The Interior + Water-Management Check
Two checks in one, because they're the same story from opposite ends.
Inside: walk the interior faces of your exterior walls. Damp patches, staining, bubbling or peeling paint, a chalky residue on a basement wall, a musty smell that returns every spring — these mean water is completing the trip from outside to inside. By the time water is showing up on drywall, the joints outside have been open for a while.
Outside: look at your gutters, downspouts, and grading. This is the upstream cause of most failed mortar in Chicagoland, and it's the cheapest thing on this entire list to fix. A downspout that dumps against a brick wall, a clogged gutter that overflows down the same six feet of masonry every storm, or soil graded back toward the foundation will chew through mortar joints in a decade. Fix the water, and you dramatically extend the life of every joint on the building.
The Full Checklist, at a Glance
| Check | What you'll see | What it means | Urgency | |---|---|---|---| | Screwdriver test | Tip sinks in or gouges the joint | Binder is gone; joint has failed | Get an estimate | | Rub test | Mortar powders into sand on your thumb | Same — binder loss | Get an estimate | | Recess check | Joints hollowed behind the brick face | Erosion is active; water is pooling in joints | Get an estimate | | Sand piles | Grit on sills, ledges, and the ground | Joints are shedding above | Investigate now | | Hairline cracks | Fine cracks in the joints | Joint fatigue; early weathering | Monitor | | Step cracks | Diagonal stair-step cracking through joints | Movement or settlement | Professional look | | Cracks through brick faces | Split brick, not split mortar | Possible structural loading | Call a mason | | Efflorescence | White chalky bloom | Water is moving through the wall | Find the water source | | Spalling brick | Faces flaking, popping, crumbling off | Freeze-thaw damage; mortar failed first | Call a mason | | Interior damp / stains | Wet drywall, musty basement, peeling paint | Water has made it all the way through | Call a mason | | Bowing or bulging wall | Wall no longer plumb; belly in the brick | Serious structural signal | Call immediately | | Loose brick overhead | Movable units above a walkway | Life-safety and liability issue | Call immediately |
What Happens If You Wait
Failing mortar is not a problem that holds still. It's a problem that escalates in a predictable order, and every stage costs more than the one before it:
- Joints open. Water enters the wall. This is the cheap stage — this is tuckpointing.
- Water reaches the wall core. It saturates the brick, freezes, thaws, and starts spalling faces. Now you need brick repair and unit replacement alongside repointing.
- Steel starts rusting. Water reaches the steel lintels above your windows and doors. Rusting steel expands — a process called rust jacking — and lifts and cracks the brick above the opening. Now you're pulling brick to replace lintels.
- The wall loses integrity. Widespread joint failure, bulging, displaced brick. Repointing is no longer on the table; rebuilding is.
- Interior damage. Stained plaster, ruined drywall, mold, damaged framing.
The reason masons push so hard on step one is that step one is the only step that's cheap. A wall repointed on time is a wall that lasts another few decades. The same wall five winters later is a materially different — and materially more expensive — project.
When to Stop and Call a Mason
Run the checks. But know where the line is:
- Anything above the first floor. Don't get on a ladder to inspect masonry. It isn't worth it.
- Chimneys and parapets. These are the most exposed masonry on any building — a chimney weathers on all four sides, a parapet on both faces and the top. They fail first and they fail hardest, and you can't see the damage from the ground. That's chimney repair territory.
- Bowing, bulging, or leaning walls.
- Cracks running through brick faces, or any crack that's visibly widened over a season.
- Loose brick above a walkway, entrance, or sidewalk — that's a safety issue, not a maintenance one.
- You found failure and you want to know the scope. The screwdriver test tells you that you have a problem. It doesn't tell you how far it runs, which elevations are involved, whether it's spot repointing or a full tuckpoint, or what mortar the wall actually needs.
That last item is the honest limit of a DIY inspection. A professional assessment adds the things you can't get from the sidewalk: elevation-by-elevation scope, mortar analysis and color/strength matching, joint-profile matching, the condition of hidden steel, and a written scope of work you can actually compare between bids.
Keeping Sound Mortar Sound
- Run the screwdriver test on a north wall every couple of years. It's twenty minutes and it's free.
- Keep gutters clean and downspouts discharging away from the building. The highest-return masonry maintenance there is.
- Grade soil away from the foundation.
- Don't let ivy and heavy vegetation grow on brick.
- Repoint on schedule rather than on emergency. See our tuckpointing frequency guide for Illinois.
- Consider a breathable sealer after the joints are sound — never as a substitute for them. Masonry sealing protects a healthy wall; it entombs a sick one.
- Never let anyone sandblast your brick. It strips the hard fired face and guarantees the spalling you were trying to prevent.
And if you want to know exactly what the repair itself involves before you call anyone, our plain-English explainer on what repointing actually means covers grinding out the old joints, matching the mortar, and tooling the new work to match the original profile.
The Bottom Line
If a screwdriver goes into your mortar under hand pressure, your wall is telling you it needs tuckpointing. It isn't ambiguous, it doesn't require an expert, and it doesn't cost anything to find out. The joints are the part of your building designed to wear out — and the part designed to be replaced before the brick behind them ever has to be.
Emerald Masonry LLC is a family-owned, licensed and insured masonry contractor serving Chicago and the Chicagoland suburbs led by career masons with decades of hands-on experience in tuckpointing, chimney repair, brick repair and replacement, lintel and parapet repair, foundation and limestone/sill repair, caulking, sealing, and commercial, residential, and historic masonry restoration. We'll come out, look at every elevation, tell you honestly whether you're looking at a few soft joints or a wall that's been drinking for a decade — and if the answer is "you're fine, check again in two years," we'll tell you that too.
Free on-site estimates. Call (708) 288-1696 or request an estimate.
Frequently Asked Questions
What is the screwdriver test for mortar?
The screwdriver test is a simple check where you press the tip of a flathead screwdriver firmly into a mortar joint. Sound mortar resists — the tip skates off and leaves at most a light scratch. If the tip sinks in, digs a groove, or the joint crumbles into sand, the mortar has lost its binder and the wall needs repointing.
How deep does mortar damage have to be before I need tuckpointing?
A common rule of thumb is roughly 1/4 inch: if mortar is missing, soft, or crumbling to a depth of about a quarter-inch or more — or deeper than the joint is wide — the joint is no longer shedding water and it's time to tuckpoint. Below that, you're usually looking at surface weathering rather than joint failure.
Is crumbling mortar dangerous?
Crumbling mortar is rarely an emergency on its own, but it's the doorway for everything that is. Open joints let water into the wall core, where Chicago freeze-thaw cycles spall the brick, rust the lintels, and eventually turn a repointing job into a rebuild. Bowing walls, cracks running through brick faces, and loose brick overhead are the signs that need a professional look right away.
Can I do the screwdriver test myself?
Yes — it's safe, free, and takes about twenty minutes. Keep it to ground level: check the walls you can reach standing on the grass. Never climb a ladder, a roof, or scaffolding to inspect masonry. Chimneys, parapets, and anything above the first floor should be looked at by a mason.
Why is my mortar turning to sand?
Mortar is a mix of sand and a lime or cement binder. Decades of water, freeze-thaw cycling, and weathering leach the binder out, and what's left is essentially loose sand. That's why a failing joint powders when you rub it — the sand is still there, but the glue holding it together is gone.
Does failing mortar mean my bricks are bad too?
Usually the opposite — mortar is designed to be the softer, sacrificial material that wears out first, which is exactly why we repoint joints instead of replacing brick. But if the mortar has been failing for years, water reaches the brick, freezes, and pops the faces off. Flaking, spalling brick means the mortar problem went on too long.
How often does mortar need to be repointed in Chicago?
It varies with exposure, mortar type, and how well the building sheds water, but Chicagoland's freeze-thaw climate is hard on masonry, and older homes with soft lime mortar wear faster than modern construction. Rather than watching the calendar, run the screwdriver test on a north-facing wall every couple of years — the wall will tell you before a schedule will.
Why do my north-facing walls look worse than the rest?
North elevations get little direct sun, so they stay damp far longer after rain and snow and cycle through more freeze-thaw events. Shaded walls, walls under a bad downspout, chimneys, and parapets are almost always the first joints to fail on a Chicagoland building.
Should I just seal the wall instead of tuckpointing it?
No — sealing a wall with failing joints traps the problem instead of fixing it. Repointing comes first; a breathable masonry sealer is something you consider after the joints are sound, as added protection. Sealing over crumbling mortar is one of the most expensive mistakes a homeowner can make.
Who does tuckpointing in the Chicago suburbs?
Emerald Masonry LLC is a family-owned, licensed and insured masonry contractor led by career masons with decades of hands-on Chicagoland experience, repointing brick homes, two-flats, greystones, and commercial buildings across Chicago and the surrounding suburbs. Free on-site estimates — call (708) 288-1696.