
Historic Masonry Restoration · Chicagoland, IL
Tudor Revival Brick Home Masonry Repair: A Guide for Chicago and Suburban Owners
A 1920s Tudor Revival home is a rich, complicated piece of masonry: a massive front chimney, rough clinker or textured brick, stone trim around arched doors, brick meeting stucco and half-timbering, and steep roofs that pour water onto the walls. Here is where Tudor masonry fails, how to repair it without making it look patched, and what to fix first.
2026-10-19
Quick Answer
Tudor Revival brick home masonry repair in Chicagoland usually starts at the big front chimney, the stone trim around the arched entry, and the joints where brick meets stucco and half-timbering. Repairs must match textured or clinker brick, soft lime-rich mortar and rough joint profiles. Emerald Masonry LLC restores Tudor homes across Chicago and the suburbs: (708) 288-1696.
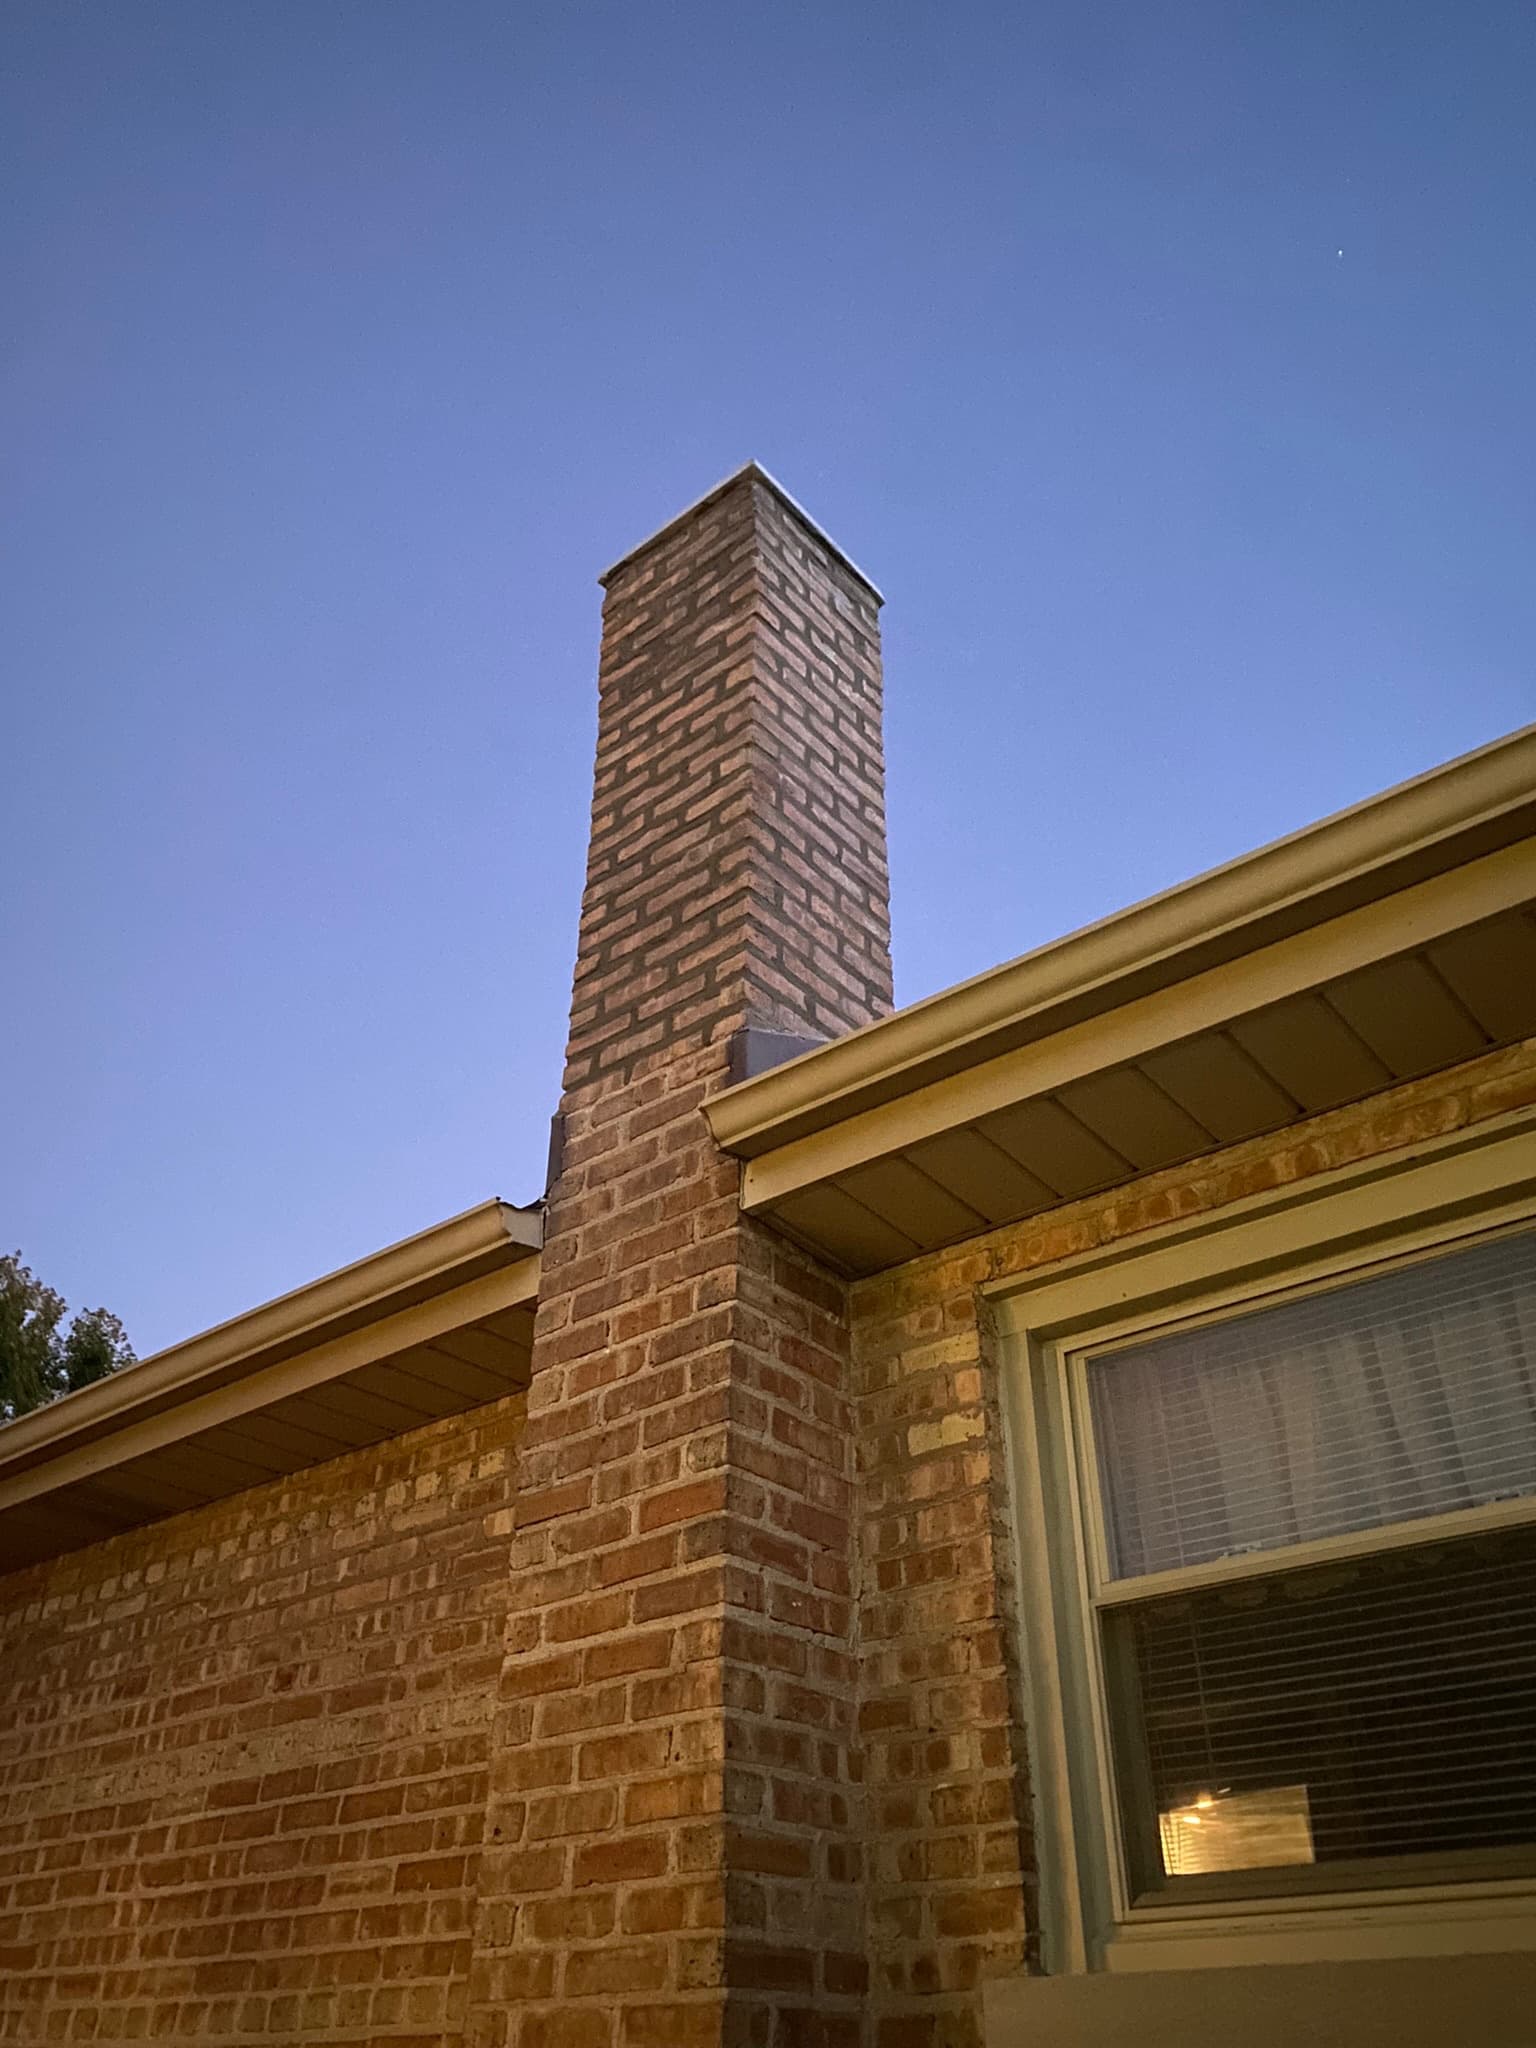
Tudor Revival brick home masonry repair in Chicagoland usually starts in three places: the big front chimney, the stone trim around the arched entry, and the joints where brick meets stucco and half-timbering. The brick itself is often textured or clinker brick laid in soft, lime-rich mortar with rough joints, so good repairs have to match all of that or they look patched and can damage the wall. Emerald Masonry LLC restores Tudor and other pre-war brick homes across Chicago and the suburbs. For a free on-site assessment, call (708) 288-1696.
On a Tudor home, the masonry is part of the style. A repair that uses the wrong brick, a smooth modern joint or hard mortar is visible from the street and can shorten the life of the wall around it.
Tudor Revival houses went up across Chicago and its older suburbs mostly in the 1920s and early 1930s. You see them in city neighbourhoods such as Beverly, Edgebrook, Sauganash and Forest Glen, and in suburbs like Hinsdale, La Grange, Western Springs, Oak Park and River Forest. They are now close to a hundred years old, and many are on their second or third round of masonry repairs. This guide explains how they are built, where they fail, and how to repair them properly.
How a Tudor Revival brick home is built
Tudor Revival is a picturesque style: steep front-facing gables, a dominant chimney, arched entries and a deliberately handmade, old-world look. That look comes mostly from the masonry.
Textured, clinker and skintled brick
Many Tudors use dark, textured face brick in a mix of colours. Some use clinker brick, which is overfired brick with dark, glassy, sometimes warped faces, laid in among regular units for character. Others use skintled brickwork, where bricks are set slightly in and out of the wall plane and mortar is left squeezed out or roughly struck. All of these make matching harder than on a flat, uniform brick wall.
Soft, lime-rich mortar
Mortar from this era is usually a lime-rich mix that is softer than modern Portland-heavy mortar. That softness is a feature: the mortar flexes a little and lets moisture escape through the joints rather than the brick. Repairs need to respect it.
Stone, stucco and timber
Tudors usually combine brick with:
- Limestone or cast-stone trim around doors, windows and arches, sometimes with carved or moulded details.
- Stucco and decorative half-timbering in the gables and upper walls.
- Steep slate, tile or wood roofs with deep valleys.
- Casement windows, often leaded, set into masonry openings with steel lintels or brick arches above.
Every place where one of those materials meets the brick is a joint that has to shed water.
Causes and warning signs of masonry failure on Tudor homes
Tudors fail in predictable places. Here is what to look for, roughly in order of how often we find it.
The front chimney
The chimney is usually the tallest and most exposed masonry on the house, often on the front wall with decorative brickwork, corbelling and clay chimney pots. Look for open or sandy joints near the top, loose or cracked chimney pots, a cracked crown, spalled brick faces, white efflorescence, and water stains inside next to the chimney. A lean or a gap where the stack meets the wall needs prompt attention.
Stone trim and arched entries
Limestone and cast-stone door surrounds, sills and arch stones crack, flake and lose detail as water and freeze-thaw work into them. Embedded iron, such as old anchors or railings, rusts and splits the stone. Look for cracks across keystones and arches, open joints between stones, and rust stains.
Where brick meets stucco and half-timbering
This junction is a classic Tudor leak point. Water runs down the stucco and timber and gets behind the brick, or into the top of the brick wall, where the two meet. Look for cracked stucco edges, open joints at the transition, stained brick under the gable, and soft or rotting timber.
Walls under steep roof valleys
Steep roofs move a lot of water fast. Where a valley or a short gutter dumps water onto a lower roof or wall, the brick below stays wet, and joints erode years ahead of the rest of the house. Look for eroded joints, efflorescence and spalling in a band below roof valleys and downspouts.
Window openings and lintels
Steel lintels over casement windows rust and expand, cracking the brick above and pushing it out of line. Brick arches over openings can sag if joints fail. Look for orange rust streaks, step cracks from window corners and a dip in the brick above an opening.
Old repairs that stand out
Many Tudors have earlier tuckpointing done with hard grey mortar and a smooth modern joint, smeared over the brick faces. It looks wrong and, because it is harder than the brick, it can make the brick edges crack and spall.
How a professional repairs a Tudor home's masonry
Here is how we approach a Tudor restoration, step by step.
- Survey the whole house. We check the chimney from the roof, every elevation, the stone trim, openings and the brick-to-stucco junctions, and note which areas need work now and which can wait.
- Find the water. Roof valleys, gutters, downspouts, flashing and grade are checked first, so masonry repairs are not asked to fix a drainage problem.
- Analyse the existing mortar and brick. We record the original mortar colour, sand, hardness and joint profile, and identify the brick types in the wall, including clinker units.
- Make sample patches. Mortar samples are mixed, cured and compared against the original in daylight before the main work starts.
- Remove failed and hard mortar carefully. Joints are cut out to the right depth without widening them or chipping brick edges, which matters even more on irregular, textured brick.
- Repoint in layers with matched lime-rich mortar, then tool or brush the joint to match the original profile, including rough or struck joints on skintled walls.
- Replace damaged brick with salvaged or carefully matched units, mixing colours and textures to blend.
- Repair stone trim with matched patching mortar for small losses or replacement pieces for broken stones.
- Repair or rebuild the chimney top, with a new crown and flashing coordinated with your roofer.
- Seal masonry-to-stucco and window joints with a suitable sealant, leaving drainage paths open.
Materials and techniques for Tudor masonry
| Material or technique | What we use on Tudors | Why | |---|---|---| | Mortar | Lime-rich Type O or Type N, matched in colour and sand | Softer than the brick; lets the wall dry through the joints | | Joint profile | Matched to original: struck, raked, rough or flush | Smooth modern concave joints look wrong on Tudor brick | | Brick | Salvaged and matched units, blended clinker | New uniform brick reads as a patch | | Stone | Matched patching mortar or new stone pieces | Keeps arches and trim details | | Steel lintels | Clean, prime and coat, or replace | Stops rust jacking that cracks brick | | Water repellent | Breathable siloxane only where needed | Film-forming sealers trap water in old brick |
Lime mortar vs Portland mortar on a Tudor
The single most important technical choice on a Tudor is mortar hardness. Modern Type S and other Portland-heavy mortars are excellent for new block and below-grade work, but they are often harder than 1920s brick. When the joint is harder than the brick, the brick takes the stress and the water, and its edges and faces break. On most Tudors we use a lime-rich Type O or Type N, matched to the brick. Our guide to lime vs Portland mortar explains the difference in more detail.
Matching clinker and textured brick
Matching a Tudor wall is about the blend, not a single brick. We sort salvaged and new units by colour and texture and lay them in the same mix as the original wall. For small areas, we sometimes take original brick from a hidden spot, such as behind a later addition, and use the closest new brick there. See salvaged brick sourcing and matching for how that works.
What drives the cost of Tudor masonry repair
We do not quote Tudor work over the phone, because the price depends on details that need to be seen. The main cost drivers are:
- Chimney height, decoration and roof access, especially on steep slate or tile roofs.
- How much repointing is needed, and whether hard old repairs have to be removed first.
- Brick matching, including sourcing salvaged and clinker brick.
- Stone trim repair or replacement around entries and windows.
- Rebuilding chimney tops, arches or areas above rusted lintels.
- Access around landscaping, porches and tight side yards.
- Coordination with roofers, carpenters or plasterers at the stucco and timber.
Emerald Masonry LLC provides a written, itemized estimate after a free on-site assessment, so you can see what each part costs and plan the work over more than one season if needed.
DIY vs hiring a pro on a Tudor home
Small, safe jobs are fine for a homeowner: keeping gutters and downspouts clear, cutting back plants against the wall, and watching for new cracks or stains. Tuckpointing, brick and stone repair and chimney work are not good DIY projects on a Tudor. Hardware-store mortar is usually too hard, matching textured brick and rough joints takes experience, and chimney work on a steep roof is dangerous. A bad repair on a Tudor is also very visible. If you are not sure whether earlier work was done well, our guide on how to spot a bad tuckpointing job will help.
The Chicago context: why Tudors age the way they do
Chicago's climate is hard on any brick, and Tudors have extra exposure. A Chicago winter brings many freeze-thaw cycles, so water in the joints freezes, expands and breaks mortar and brick a little more each year. Tall Tudor chimneys catch wind-driven rain and snow on every side. Steep roofs send concentrated water onto lower walls. And after nearly a century, many Tudors have had at least one round of repairs with the wrong mortar.
The good news is that Tudor brick walls are usually well built. With matched repairs and good water management, they can last for generations. Many of the same lessons apply to other pre-war brick homes; see our Chicago Georgian brick home guide for a comparison.
Maintenance and prevention for Tudor masonry
- Look at the chimney every year, with binoculars from the ground or after a roofer has been up.
- Clean gutters and check valleys each fall and spring, and send downspouts well away from the foundation.
- Watch the brick-to-stucco joints in the gables for cracks and stains.
- Check stone trim around the entry for new cracks or flaking.
- Keep plants and ivy off the walls, so the brick can dry.
- Fix small problems early. Spot repointing and a new crown are far cheaper than a chimney rebuild.
Our why the top of your chimney fails first and brick arch repair guides cover two of the most common Tudor issues.
Related services
- Historic masonry restoration for full restoration of pre-war homes.
- Chimney repair for crowns, flashing, repointing and rebuilds.
- Tuckpointing and repointing with matched, soft mortar.
- Limestone and sill repair for stone trim, sills and arches.
- Brick replacement with salvaged and matched brick.
- Lintel repair for rusted steel over windows and doors.
Local pages: historic masonry restoration in Hinsdale, tuckpointing in La Grange and chimney repair in Beverly.
The bottom line on Tudor home masonry repair
On a Tudor Revival home, start with the chimney, the stone around the entry and the brick-to-stucco joints, and fix the water before the masonry. Use soft, matched mortar, match the original joint profile, blend salvaged and clinker brick, and never let anyone repoint hundred-year-old brick with mortar harder than the brick itself. Done that way, the repairs disappear into the house.
Emerald Masonry LLC is a family-owned masonry contractor serving Chicago and the Chicagoland suburbs, led by career masons with decades of hands-on Chicagoland experience, in historic masonry restoration, tuckpointing and repointing, chimney repair, brick repair and replacement, lintel and limestone sill repair, foundation masonry, caulking, sealing, and residential and commercial masonry restoration. Established 2024. Licensed, bonded and insured. Free on-site assessments — call (708) 288-1696.
Own a Tudor home? Call (708) 288-1696 or book a free on-site assessment and we will walk the house with you.
Frequently Asked Questions
What masonry problems are most common on Tudor Revival homes?
The big front chimney, the stone trim and arches around the entry, and the places where brick meets stucco or half-timbering are the usual trouble spots. Steep roof valleys also dump water onto lower walls, and old repairs made with hard, smooth mortar often stand out and damage the brick around them.
Can clinker brick on a Tudor house be matched?
Usually closely, but rarely from new stock alone. Clinker and textured Tudor brick varies in colour, shape and surface, so we combine salvaged brick, carefully chosen modern units and, for small areas, original brick borrowed from a hidden spot on the house.
What mortar should be used to tuckpoint a 1920s Tudor home?
A mortar matched to the original in colour, sand and softness, usually lime-rich Type O or Type N depending on the brick. It must never be harder than the brick, and the joint should be tooled or left rough to match the original profile rather than given a smooth modern finish.
Why does my Tudor chimney leak?
Tudor chimneys are tall, exposed and often decorative, so water gets in through open joints at the top, a cracked crown, loose chimney pots, or flashing where the stack passes through a steep slate or tile roof. We find the actual entry point before recommending repointing, a new crown, re-flashing or a rebuild.
Who repairs the stucco and half-timbering on a Tudor house?
The timber and stucco are usually carpentry and plaster work, while the brick, stone and mortar are masonry. Emerald Masonry LLC repairs the masonry side and the joints where it meets the stucco, and coordinates with your carpenter or plasterer so water is stopped at the junction.
Should I seal the brick on my Tudor home?
Usually not. Old soft brick and lime mortar need to dry out, and film-forming sealers trap water and cause spalling. If a wall stays wet after repointing and water management, a breathable siloxane repellent can help on specific areas.
How much does Tudor home masonry repair cost?
It depends on chimney height and roof access, how much repointing is needed, stone trim repair, brick matching and any rebuilding. Emerald Masonry LLC gives a written, itemized estimate after a free on-site assessment rather than a phone guess.
Do I need permission to repair a Tudor home in a historic district?
Like-for-like repairs that match the original usually do not change how the house looks, but rebuilds, material changes or removing features may need village or city review in a historic district or on a landmark. We check before starting work that changes the appearance.
Who does Tudor home masonry repair near Chicago?
Emerald Masonry LLC, a family-owned masonry contractor based in Palos Heights, restores Tudor and other pre-war brick homes across Chicago and the Cook, DuPage and Will County suburbs. Call (708) 288-1696 for a free on-site assessment.