
Tuckpointing · Chicagoland, IL
How Long Does Tuckpointing Last? What Determines the Lifespan of a Repointing Job
A quality tuckpointing job on Chicagoland masonry typically lasts 20–30 years, while a poorly done one can start failing in just a few. Here's what actually determines how long repointing lasts — and how to make yours last as long as possible.
2026-07-20
Quick Answer
A quality tuckpointing job on Chicagoland brick typically lasts 20–30 years — and well-matched historic lime repointing can last even longer — while a poorly done job can begin failing in just a few years. Lifespan is driven mostly by mortar matching and workmanship, not luck. Emerald Masonry LLC repoints brick across Chicago and the suburbs to last. Free estimates: (708) 288-1696.
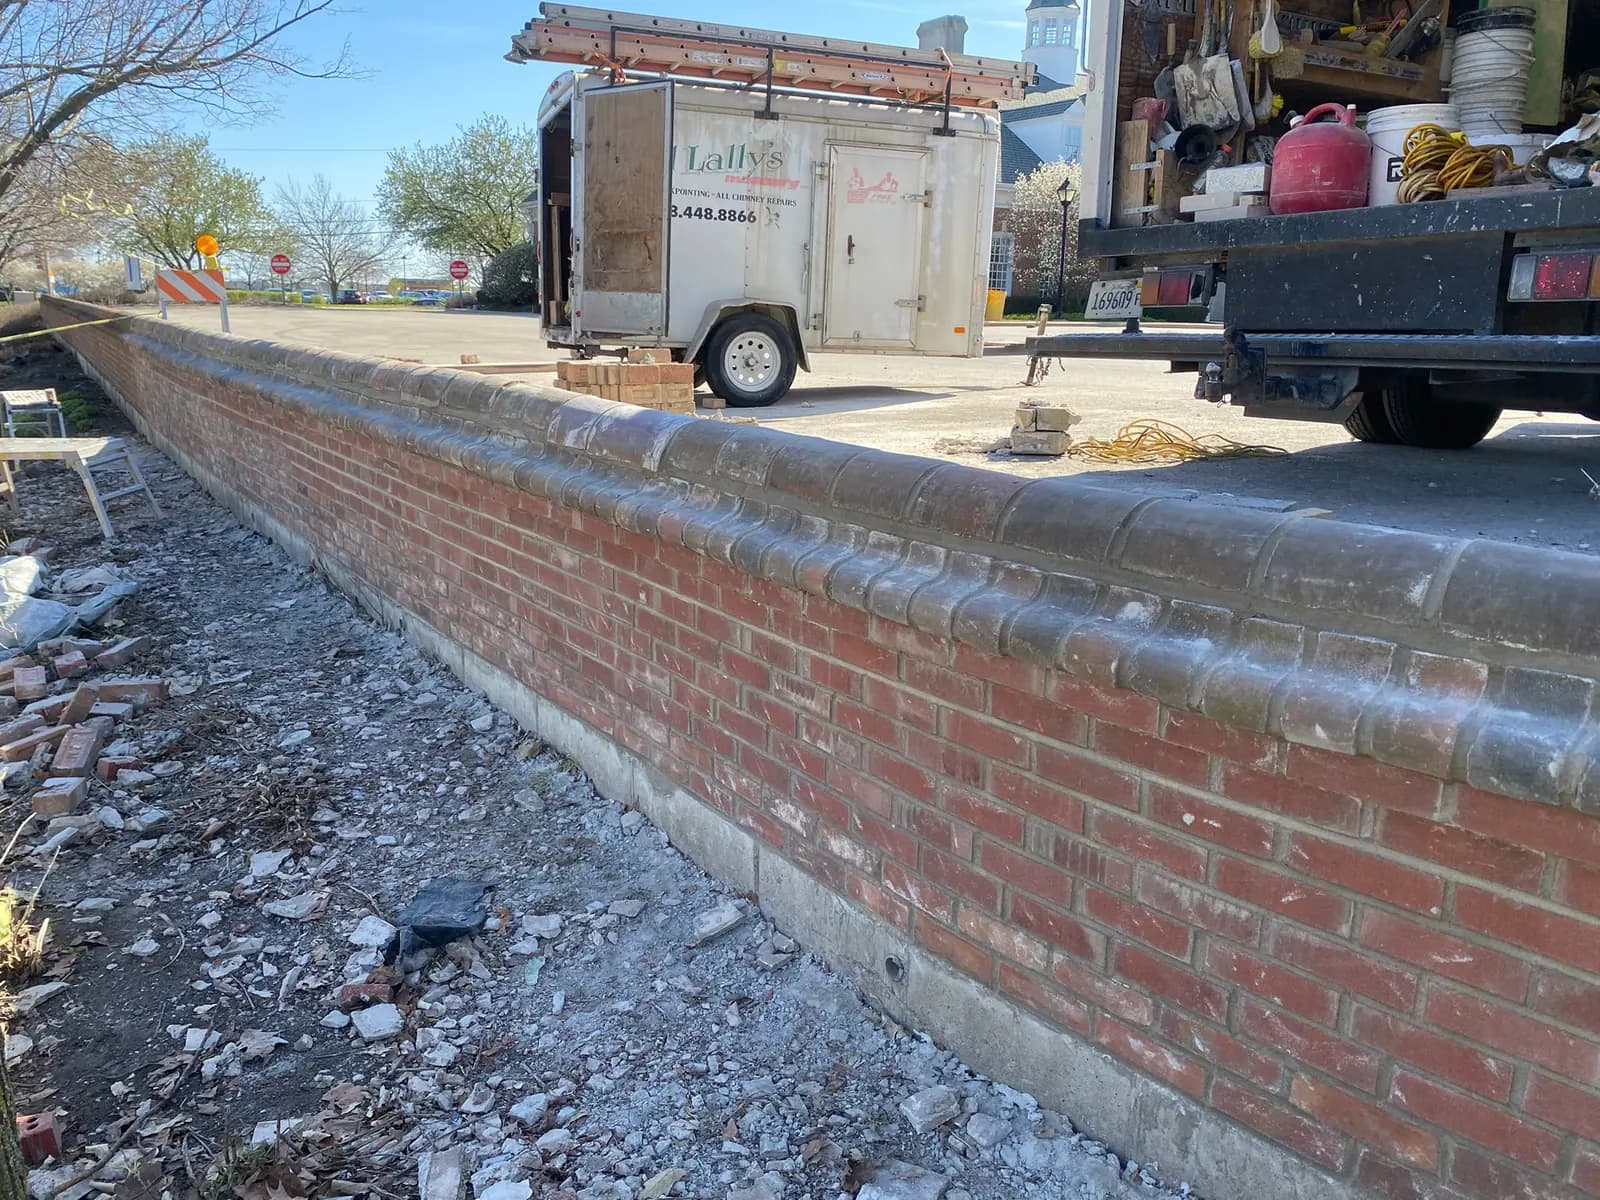
How Long Does Tuckpointing Last? What Determines the Lifespan of a Repointing Job
A quality tuckpointing job on Chicagoland masonry typically lasts 20–30 years — and carefully matched historic lime repointing can last even longer — while a poorly done job can begin failing in just a few years. That's an enormous range, and the difference isn't luck or weather alone. It comes down mostly to two things: how well the new mortar is matched to your brick, and how carefully the work is done. Emerald Masonry LLC is a family-owned, licensed and insured masonry contractor that repoints brick across Chicago and the Chicagoland suburbs to last — and if you want an honest read on how much life is left in your joints, our on-site estimates are free at (708) 288-1696.
If you're asking how long does tuckpointing last because you're weighing a bid, deciding whether to repoint now or wait, or wondering why a previous job didn't hold up, this guide walks through the real drivers of tuckpointing lifespan — and what you can do to get the long end of that range instead of the short end.
What tuckpointing actually is (and why "tuckpointing" and "repointing" get mixed up)
Tuckpointing is the process of grinding or raking out failed, crumbling mortar from between bricks down to sound depth, then packing the joints with fresh mortar and tooling them to shed water. It restores the weatherproof seal that mortar joints are supposed to provide — the joints, not the bricks, are the part of a wall designed to wear out and be renewed.
In everyday Chicago usage, "tuckpointing" and "repointing" are used interchangeably, and that's fine. Strictly speaking, repointing means replacing deteriorated mortar, while historic tuckpointing was a decorative technique using two mortar colors to fake crisp, fine joints. Most homeowners mean "fix my failing mortar joints," and that's what this article is about. If you want the terminology in more depth, see our explainer on what repointing actually means and the difference between tuckpointing and repointing.
The key idea for lifespan: mortar is a sacrificial element. It's meant to be slightly softer than the brick so that moisture movement and freeze-thaw stress wear the joint rather than the brick face. That single principle explains almost everything about why one tuckpointing job lasts 30 years and another fails in three.
What determines how long tuckpointing lasts
Two identical-looking walls repointed on the same street can have wildly different lifespans. Here's what actually moves the needle.
1. Mortar matching — the single biggest factor
The new mortar has to match the hardness of your brick, not just its color. This is where most early failures are born.
Older Chicago brick — the common brick behind bungalows, greystones, two-flats, and pre-1930 homes — is relatively soft and was laid in soft, lime-rich mortar. If a contractor repoints it with a stiff, modern Portland cement-heavy mix (a hard Type S mortar), the joint becomes harder than the brick. Now, when the wall expands, contracts, and freezes, the rigid mortar won't yield — so the brick takes the stress and its face spalls off. You end up worse than before: failing joints and damaged brick.
Matching means getting three things right:
- Compressive strength / hardness — softer lime mortar or Type N for soft historic brick; harder Type S only where the masonry units are genuinely strong enough to take it.
- Lime content — lime gives mortar flexibility and a mild self-healing quality that helps joints last.
- Color and texture — so the repair blends and, on historic homes, so it looks original. (More on that in our guide to mortar color matching.)
Get the match right and the joint flexes with the wall for decades. Get it wrong and you've capped the lifespan on day one. Our deep-dive on lime versus Portland mortar explains why this is the most consequential decision on the whole job.
2. Workmanship — depth, packing, tooling, and curing
Even with the right mortar, how the work is done sets the ceiling on how long it lasts.
- Grinding to sound depth. Proper tuckpointing removes failed mortar to a depth of roughly twice the joint width, reaching solid mortar behind. The classic shortcut — smearing a thin "scratch coat" of new mortar over the face of old, failing joints — looks fine for a season and then peels away, because it's only bonded to crumbling material. This is the number-one cause of tuckpointing that fails in a few years.
- Full packing. Joints must be filled completely in tight lifts, with no voids where water can collect and freeze.
- Correct tooling and joint profile. Striking the joint to a concave or weathered profile compresses the mortar surface and directs water out of the wall. A sloppy or wrong profile holds water against the joint.
- Curing. Fresh mortar needs to cure slowly and damp. Mortar that dries too fast — in hot sun or wind without being kept moist — never reaches full strength and fails prematurely.
You can see the difference between a job built to last and one built to bill in our field guide on how to spot a bad tuckpointing job.
3. The condition of the brick and wall going in
Tuckpointing renews the joints — it can't fix a wall that has deeper problems. If the brick is already heavily spalled, if there's an active water source, or if the wall is bowing, repointing alone won't hold, and the "failure" gets blamed on the tuckpointing. A good contractor evaluates whether you need brick repair or replacement alongside the repointing, and flags structural movement before quoting joints. Repointing a fundamentally wet or moving wall is repointing on borrowed time.
4. Exposure — not all walls age at the same rate
Mortar fails unevenly, and the most-exposed masonry always goes first:
- North- and weather-facing walls stay damp longer and see more freeze-thaw. (See why north-facing brick deteriorates faster.)
- Chimneys are exposed on all four sides above the roof and take the worst of it — often needing chimney tuckpointing or repair years before the house walls do.
- Parapets and grade-level joints are soaked from multiple directions and fail early.
So "how long does tuckpointing last" often has different answers for different parts of the same building.
5. Water management around the wall
Most mortar failure is really a water-management failure. Overflowing or clogged gutters, downspouts dumping at the foundation, failed flashing, and grading that slopes toward the house all pour water into the masonry. Fix those and the same tuckpointing lasts dramatically longer; ignore them and even a perfect repointing job gets undermined from behind.
6. The weather when it was installed
Mortar placed in cold weather without protection can freeze before it cures, leaving weak, crumbly joints from the start. Reputable masons either protect and heat cold-weather work or schedule around it — see cold-weather masonry repair in Illinois. A job rushed in December can shorten its own lifespan before the first spring.
Lifespan at a glance
| Factor | Shortens tuckpointing lifespan | Extends tuckpointing lifespan | |---|---|---| | Mortar match | Hard Portland mix on soft brick | Hardness, lime, and color matched to the brick | | Depth of grinding | Thin skim over old joints | Ground to full sound depth (~2× joint width) | | Packing & tooling | Voids, wrong profile | Fully packed, concave/weathered tooled joints | | Curing | Dried too fast, or froze | Kept damp, cured slowly, protected from freeze | | Water control | Bad gutters, flashing, grading | Clean gutters, sound flashing, proper drainage | | Exposure | Chimney, parapet, north wall | Sheltered, well-drained elevations | | Sealer | Film-forming sealer (traps water) | Breathable sealer, or none |
Use it as a checklist: the more boxes you can move to the right-hand column, the closer your job lands to the 20–30-year (or longer) end of the range.
How to tell your tuckpointing is failing or near the end of its life
Tuckpointing doesn't usually fail all at once — it tells you first. Watch for:
- New mortar receding behind the brick face or cracking where the mortar meets the brick (a bond-line failure).
- Sandy, powdery, or crumbling joints — if you can rake the mortar out with a screwdriver, it's failing. (Here's the screwdriver test and other checks you can do yourself.)
- Efflorescence — white, chalky staining returning on the brick means water is moving through the wall again.
- Spalling brick — flaking or popping brick faces, often a sign the mortar was too hard or water got back in.
- Small piles of mortar sand on sills and at the base of the wall.
Catch these early and spot-repointing the worst-exposed areas can extend the whole wall's service life for a modest cost, long before you need a full re-do.
How to make your tuckpointing last as long as possible
- Hire for mortar matching and workmanship, not the lowest bid. The cheapest quote is frequently the one that skims joints and uses a one-size mix — the exact recipe for a few-year lifespan.
- Fix the water first. Clean and repair gutters and downspouts, correct flashing, and grade soil away from the wall. This protects the joints from behind.
- Consider a breathable sealer. A vapor-permeable masonry sealer sheds liquid water while letting the wall dry — reducing freeze-thaw stress. Avoid film-forming coatings, which trap moisture and cause spalling. (See breathable vs. film-forming brick sealers.)
- Re-inspect periodically and spot-repoint at the first signs, especially on chimneys, parapets, and north walls.
DIY vs. hiring a pro
Repointing looks simple and is deceptively hard to do durably. Bad DIY repointing is one of the most common reasons a wall has to be redone early — homeowners typically don't grind to depth, over-harden the mix, and don't tool or cure the joints correctly, so the work traps water and fails fast. On soft historic brick, the wrong mortar can permanently damage the brick. Masonry repair is a specialized trade for good reason; a professional's job is engineered to reach the long end of the lifespan range, not just to look filled.
Why Chicagoland is hard on tuckpointing
Our climate stress-tests mortar harder than most of the country. Chicago's repeated freeze-thaw cycles drive water into joints, freeze it, and pry them apart; lake-effect moisture keeps walls damp longer so there's more water present to freeze; and the region's century-old brick housing stock — bungalows, greystones, two-flats, and commercial masonry — is exactly the soft-brick, lime-mortar construction that punishes a bad mortar match. That's why a repointing job that might coast for 30 years in a dry, mild climate lands in the lower-to-middle part of that range here — and why matching and workmanship matter even more.
What it costs — and why the cheapest bid often lasts the shortest
We don't quote flat prices, because the honest cost of tuckpointing depends on scope, wall height and access, scaffolding, how much grinding the joints need, and mortar matching and analysis. What's worth knowing for lifespan: the lowest bid on the street is frequently the one planning to skim joints and skip the mortar match — so it can be the most expensive choice per year of life. Judge a bid on grinding depth and mortar matching, not just the bottom line. For how the numbers break down, see tuckpointing cost in Illinois, and for how often a whole building tends to need attention, our tuckpointing frequency guide for Illinois. Either way, the real number comes from a free on-site look.
Maintenance and prevention
Tuckpointing lasts longest as part of a simple maintenance rhythm: keep water off the wall, look over the joints once a year (especially after hard winters), seal breathably if it suits your masonry, and spot-repoint small problem areas before they spread. Mortar is maintainable by design — a little attention early keeps you from a full re-do later.
The bottom line
How long does tuckpointing last? Typically 20–30 years when it's done right on well-maintained Chicagoland masonry — and only a few years when it isn't. The lifespan is set less by the weather than by the mortar match and the quality of the work, then protected or squandered by how you manage water afterward. Emerald Masonry LLC is a family-owned, licensed and insured masonry contractor serving Chicago and the Chicagoland suburbs led by career masons with decades of hands-on experience in tuckpointing, repointing, brick repair and replacement, chimney repair, and masonry restoration — matching mortar to your brick so the repair protects the wall and lasts. For an honest assessment of your joints and a free on-site estimate, call (708) 288-1696 or reach us through our contact page.
Frequently Asked Questions
How long does tuckpointing last?
A quality tuckpointing job on Chicagoland brick typically lasts 20–30 years, and carefully matched historic lime repointing can last even longer. A poorly done job — thin mortar over old joints, or too-hard mortar on soft brick — can start failing in just a few years. Mortar matching and workmanship matter far more than the calendar.
How long should tuckpointing last in the Chicago area specifically?
Expect the lower-to-middle end of the 20–30 year range on exposed walls here, because Chicago's freeze-thaw cycles and lake-effect moisture stress mortar joints harder than milder climates. North-facing walls, chimneys, and parapets fail first, so those areas may need attention sooner than the rest of a building.
Why did my tuckpointing fail after only a few years?
Early failure almost always traces to one of two things: mortar that was too hard for the brick (a stiff Portland-heavy mix on soft historic brick), or shortcut workmanship — mortar skimmed over old joints instead of grinding to sound depth. Both let water back in and can spall the brick. It's a workmanship problem, not bad luck.
What makes tuckpointing last longer?
Correct mortar matching, grinding joints to proper depth, full packing and proper tooling, and good curing. After the work, keeping water off the wall — clean gutters, sound flashing, proper grading, and sometimes a breathable sealer — does the most to extend the life of the repointing.
Does sealing brick after tuckpointing make it last longer?
A breathable (vapor-permeable) masonry sealer can help by shedding liquid water while still letting the wall dry, which reduces freeze-thaw stress on the joints. A film-forming sealer can trap moisture and cause spalling, so it's the wrong choice. Sealing is a helpful add-on, not a substitute for good mortar work.
How can I tell my tuckpointing is near the end of its life?
Watch for new mortar receding behind the brick face, hairline cracks where the mortar meets the brick, sandy or crumbling joints, efflorescence (white chalky staining) returning, and any spalling brick. Spot-repointing at the first signs is far cheaper than waiting for widespread failure.
Is tuckpointing a permanent repair?
No masonry repair is truly permanent — mortar is a sacrificial, maintainable element by design. Done well, tuckpointing buys decades before the joints need attention again, and periodic spot-repointing of the worst-exposed areas can extend the whole wall's service life.
Does the type of mortar affect how long tuckpointing lasts?
Yes — it's the single biggest factor. The mortar has to be matched to the brick's hardness. Softer lime-based or Type N mortar suits older soft brick; harder Type S suits stronger units. The wrong choice either fails early or, worse, damages the brick itself.